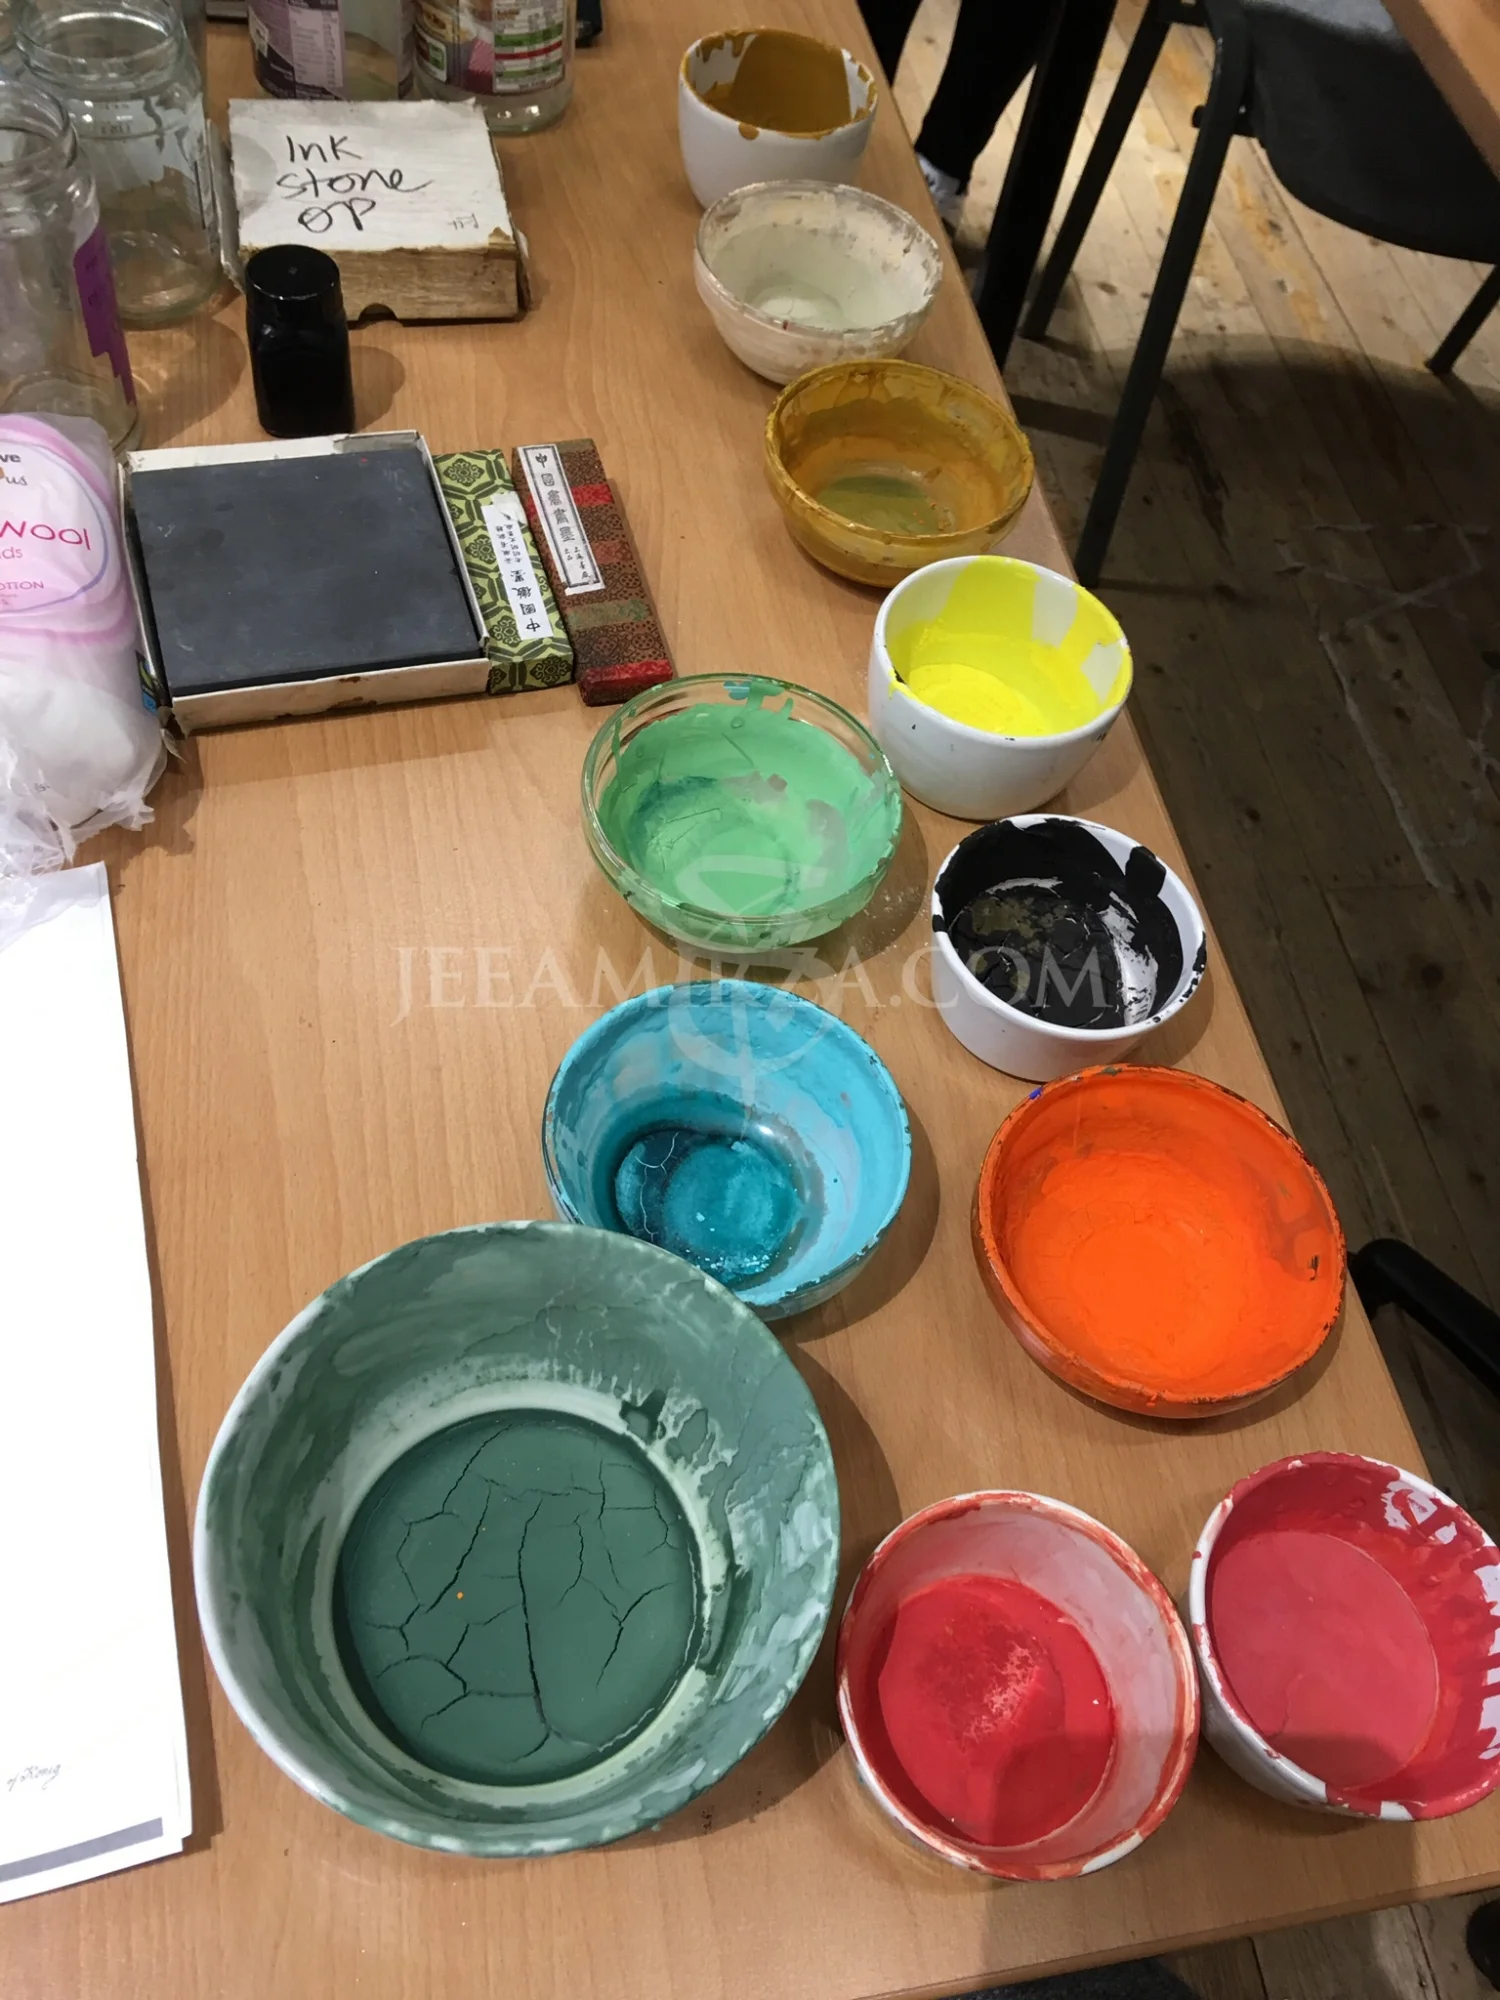
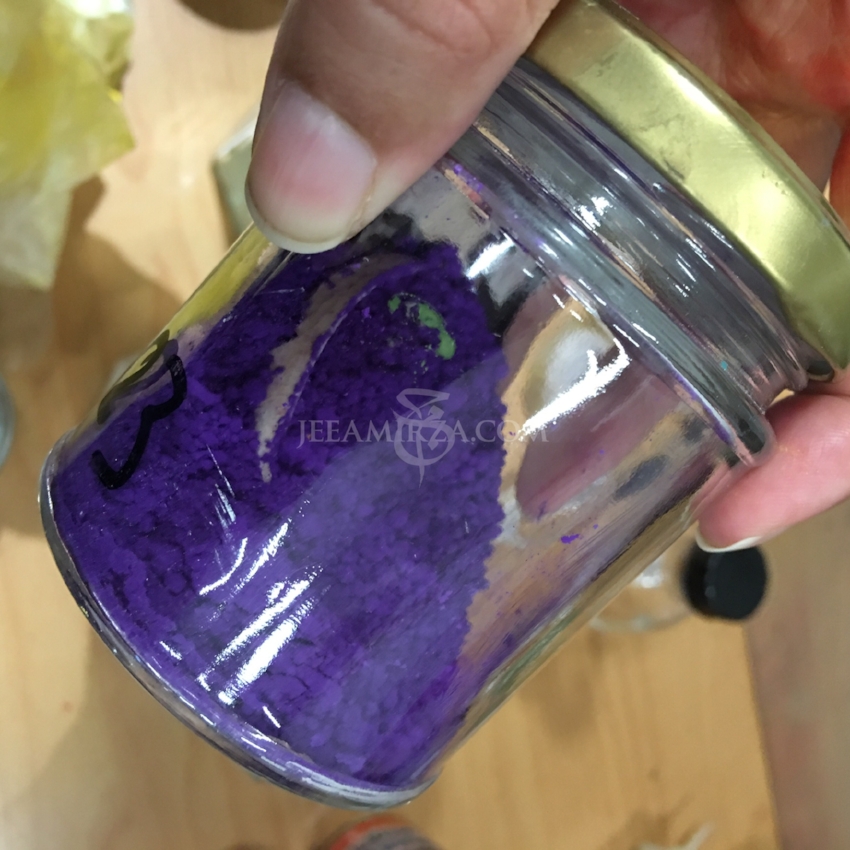
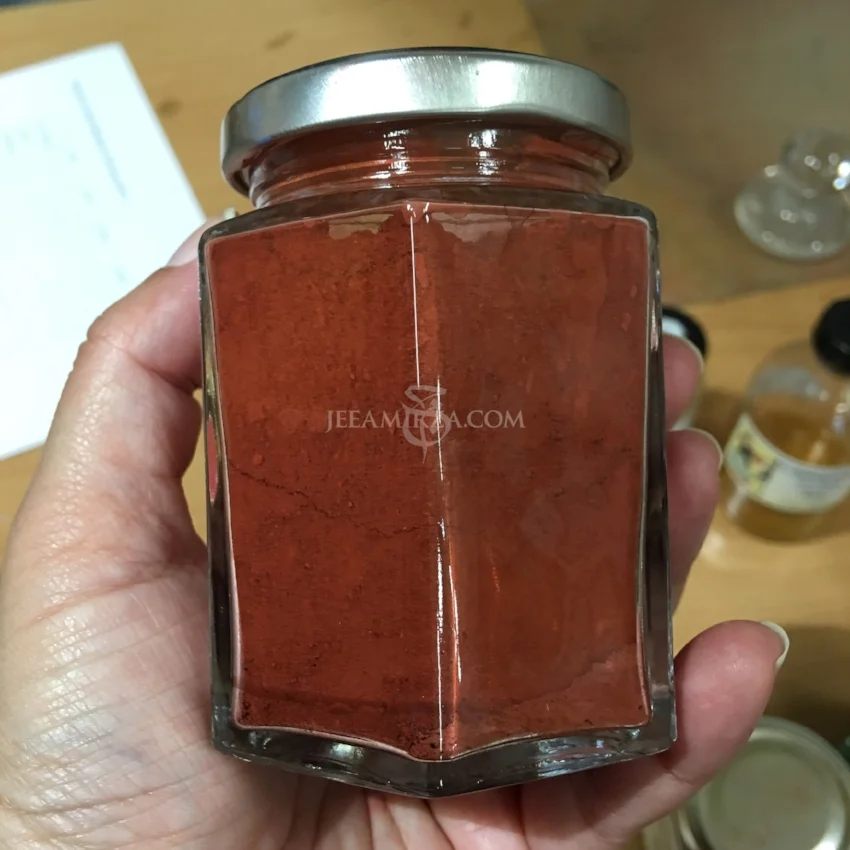
1. A selection of dried pre-mixed pigments
Sorry it's taken a while to publish this second post, but I do recall saying I was never going to win any prizes as a blogger - so you can't say that you weren't warned!
Day 2 of the course at the Prince's School (11th of November) took off in an almost literal burst of colour as Sam started to unpack and layout the powdery pigments and dishes of paint that we would spend the day working with. We all crowded round the desk laden with colour just waiting for the chance to jump in!
Key tasks on Day 2:
An introduction to pigments - learning about different types of pigment used to create artists' paint
Using powdered pigments to create our own paint
Testing our newly mulled paints to ensure that they contained enough binder and making them ready to paint with
Step 1 - An introduction to pigments
As Sam started to lay out the various bowls and jars filled with brightly coloured powder and pre mixed paint, she started to talk to us about the nature of pigments and where they come from. I personally find the subjects of pigment, colour and alchemy utterly fascinating and had done a little reading on it both before and after the class so I will do my best to provide a very brief explanation below.
Before I start though, I will throw in a disclaimer and say that I am no expert on this subject, so if you are interested in learning more I can recommend the texts mentioned below which you may find helpful.
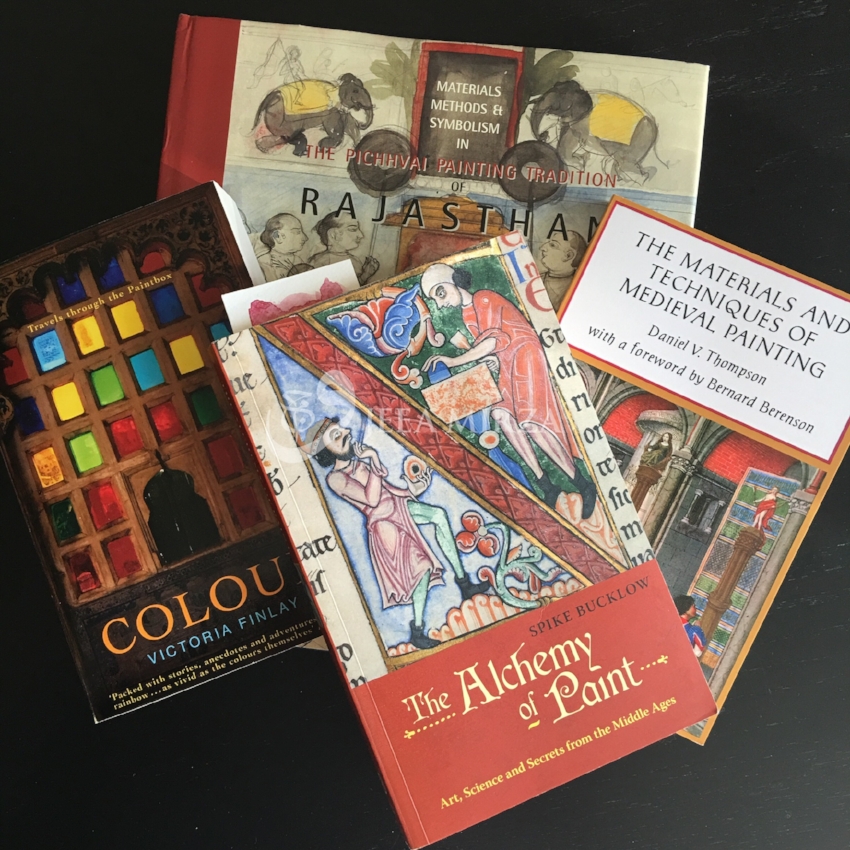
A selection of my favourite books on Indian miniature and colour
I would also strongly recommend that if you would like to try and mix your own paints to take a course to get you started.
Additionally please be aware that some pigments may be harmful so always read and follow the manufacturer's safety guidelines and precautions when handling any kind of pigment.
For those interested in Indian miniature processes, materials and techniques the following book is a must!
The Materials, Methods & Symbolism in Pichhvai Painting Tradition of Rajasthan, Desmond Peter Lazaro
For those with an interest in colour, alchemy and the traditional uses and origins of artists' pigments I would recommend the following:
The Alchemy of Paint, Spike Bucklow
The Materials and Techniques of Medieval Painting, Daniel V Thompson
Colour: Travels Through the Paintbox, Victoria Finlay
Pigment Families:
Broadly speaking there are four categories or types of pigment, (not including metals such as gold or silver) these are:
Organic pigments, earth pigments, mineral pigments and alchemical pigments
1. Organic Pigments
Organic pigments are made from plants, insects or animals and are sometimes referred to as "organic lakes" or dyes. Many lake colours are "fugitive" (which means they are not lightfast)
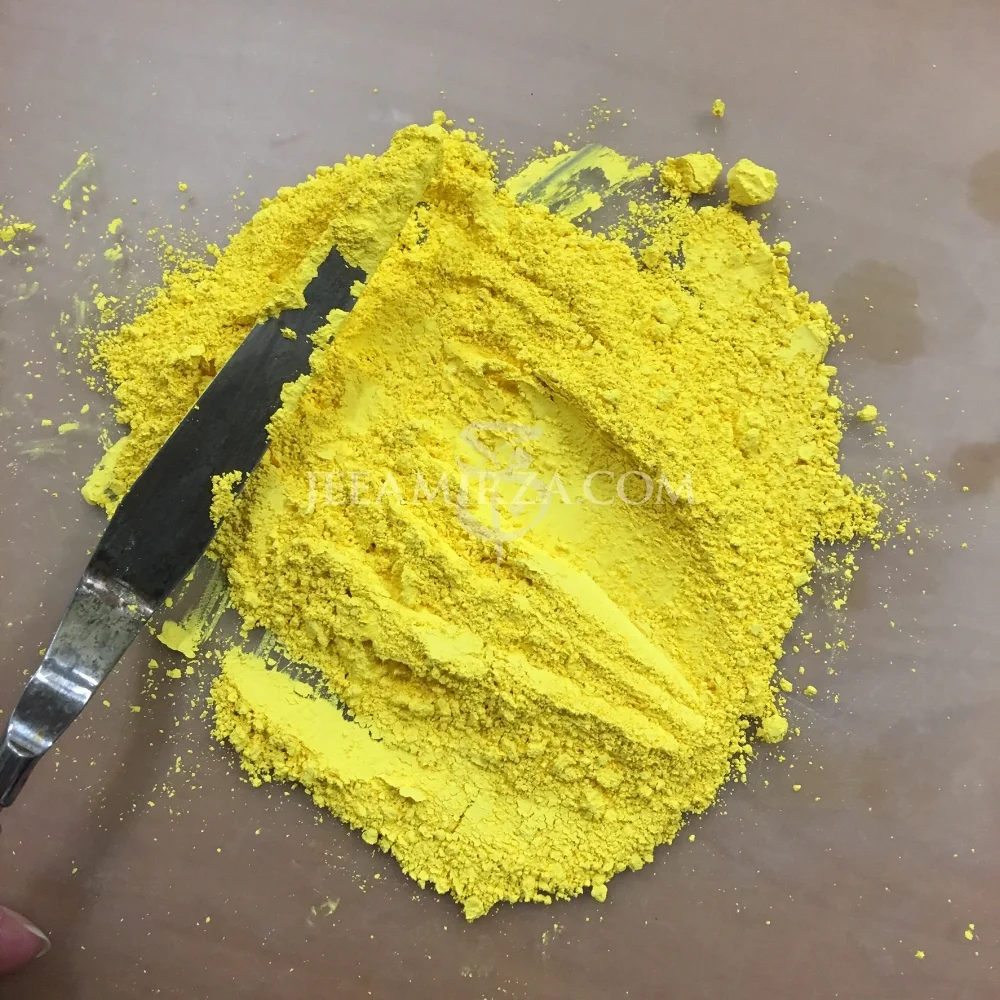
Common examples of organic pigments include indigo dye, alizarin crimson, carmine, rose madder and Indian yellow.
2. Earth Pigments
Earth pigments are naturally occurring surface deposits that have been used since pre-historic times as pigments.
The primary types are ochres, siennas and umbers.
3. Mineral Pigments
Mineral or "stone" pigments are extracted or "mined" from the earth - usually in the form of stones or rocks. Many of these are semi-precious stones and have other uses in addition to being used as pigments.
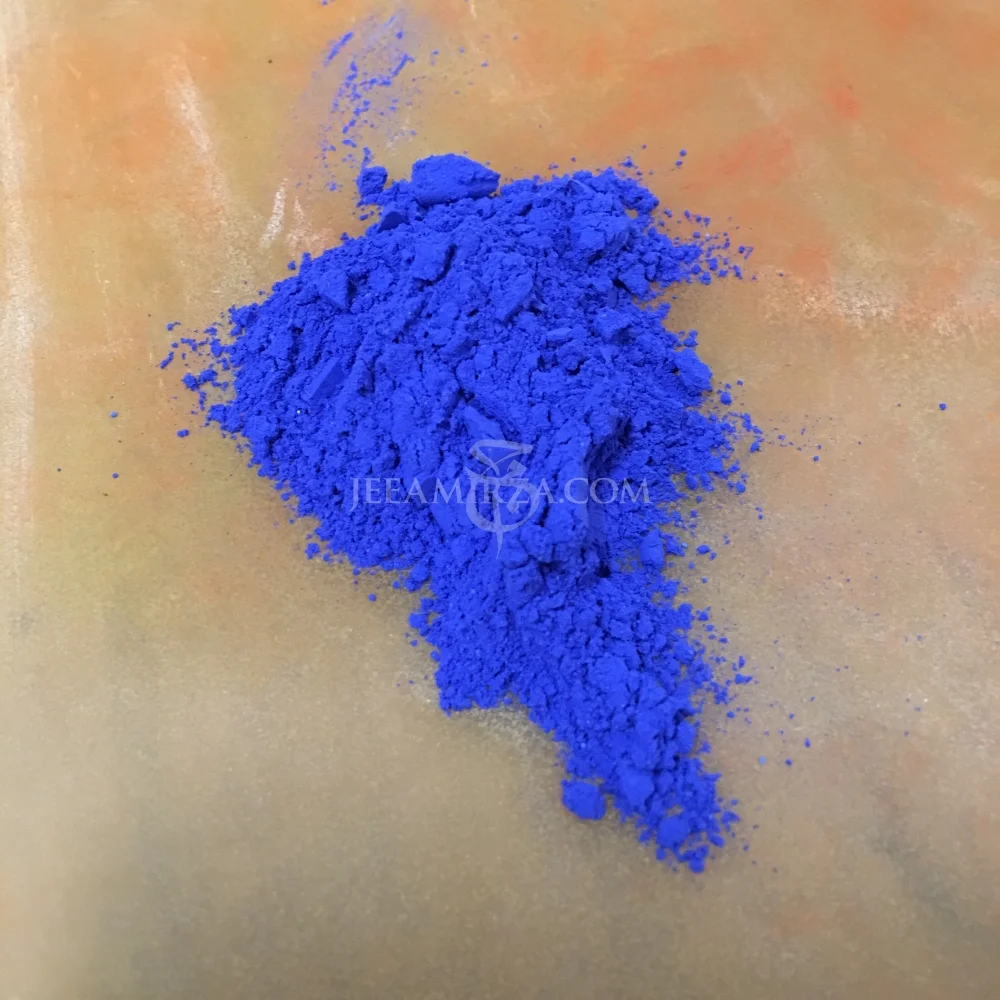
Examples of mineral pigments include lapis lazuli, malachite, azurite and cinnabar.
4. Alchemical Pigments
Alchemical pigments are essentially synthesised or manufactured in the artists' studio by following a chemical process (i.e. they are not found naturally as with the other types of pigment described above)
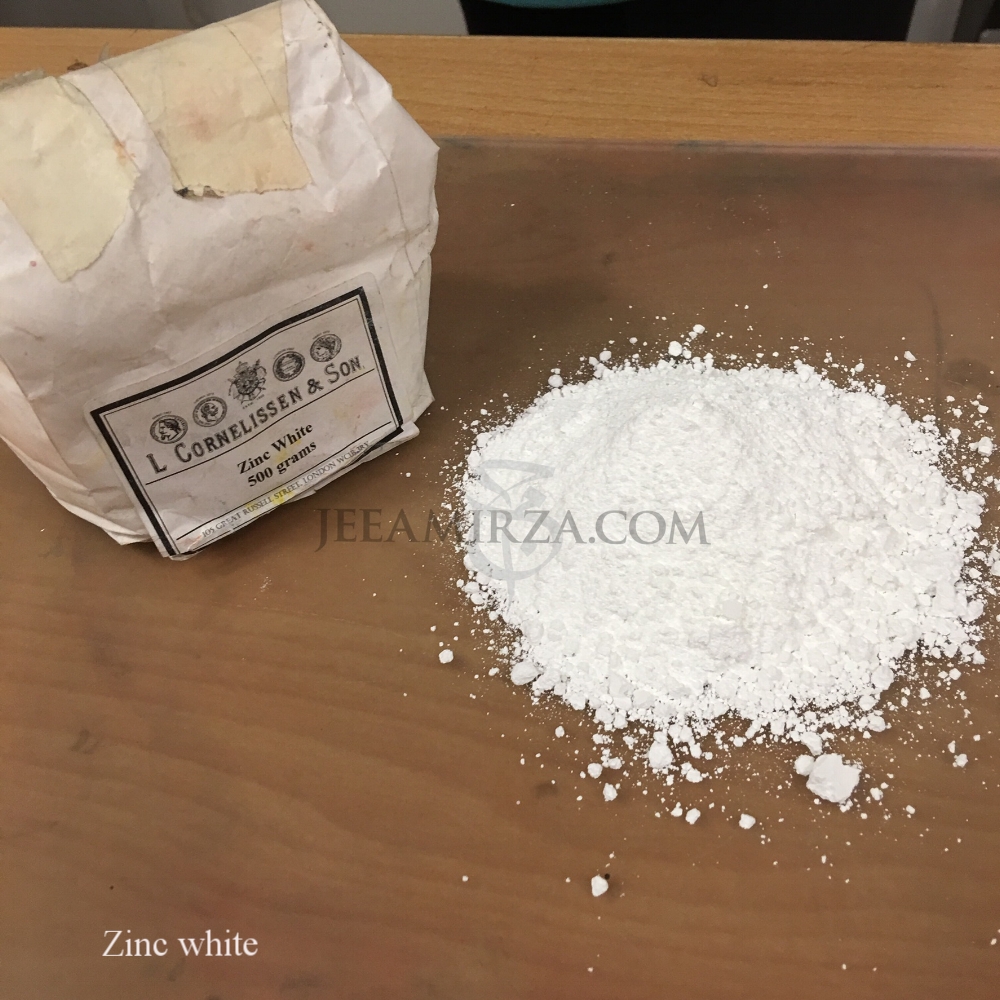
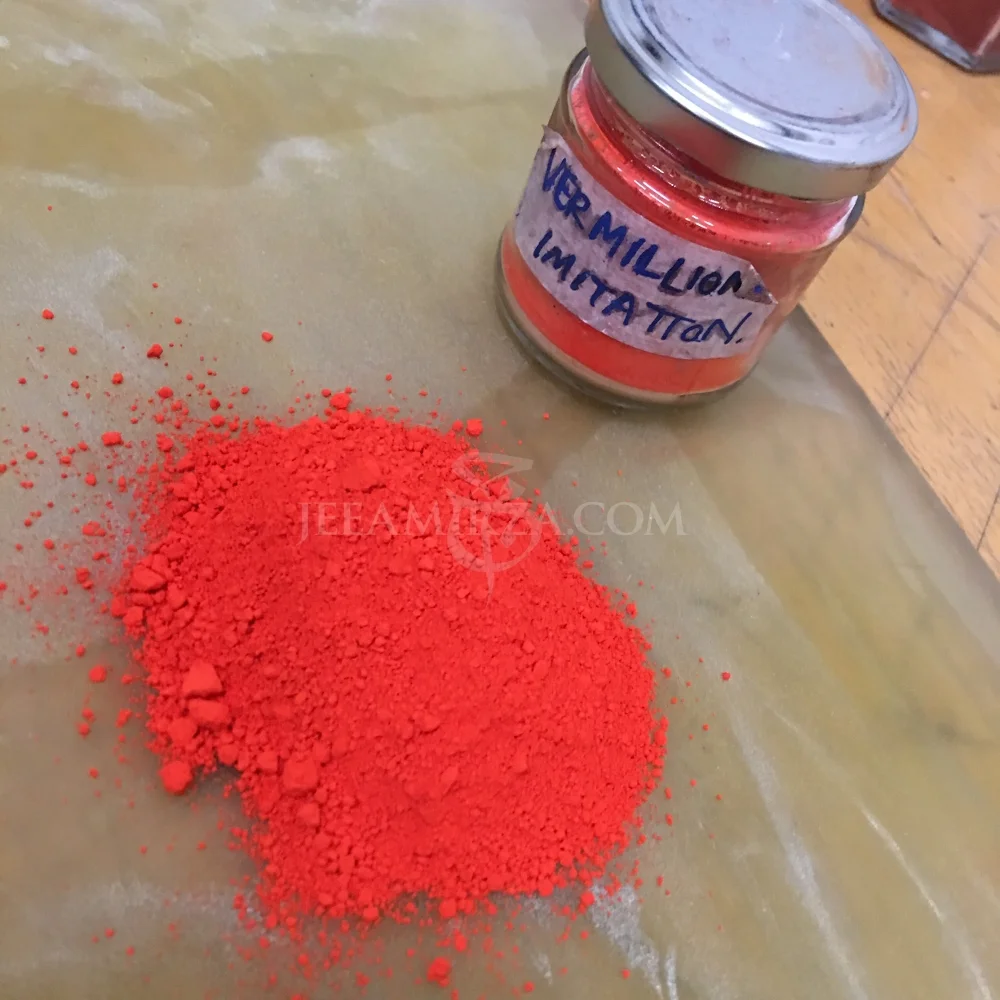
Examples of alchemical pigments include zinc white, flake white and vermillion.
Step 2 - Making our own paint
The majority of the second day was spent on a group exercise where we made the paints we would need to create our miniatures. We each took turns to create mixtures of pigment, water and binder on our glass slabs and grind these little piles of colour into paint.
For those who are wondering, the "binder" is the substance that holds the particles of pigment together in paint. All paint includes a binder of some kind as this is what holds and essentially "fixes" the paint to the paper or canvas once the paint is dried.
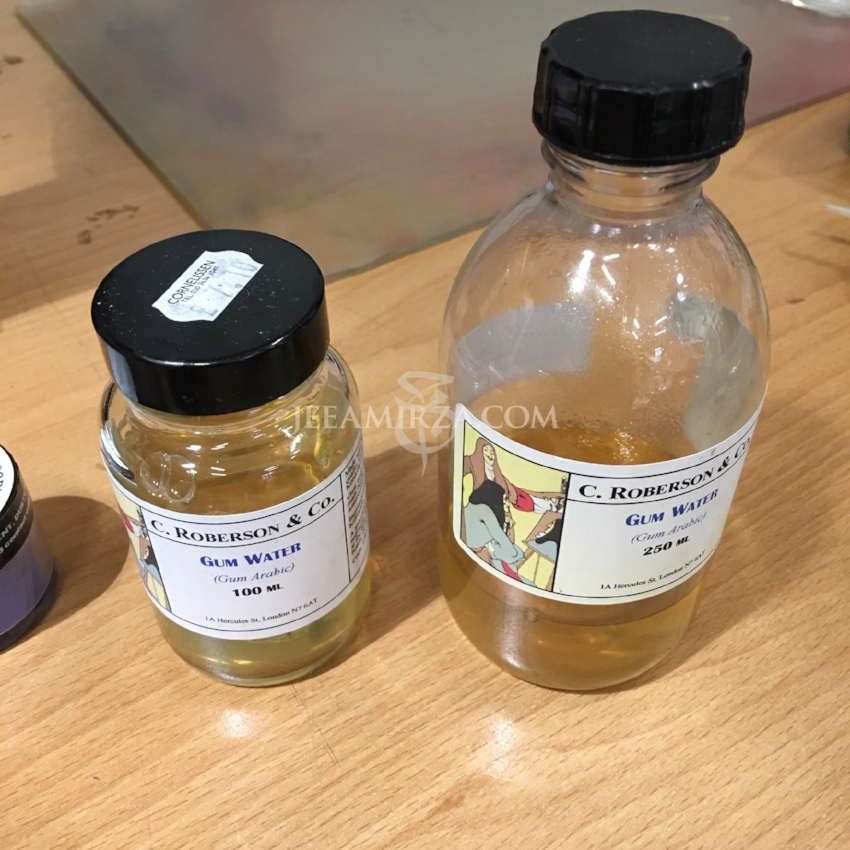
Gum Arabic is the binder usually used to make watercolour and goauche (an opaque form of watercolour).
Without the binder we would simply end up mixing granules of pigment with water, but there would be nothing that would make the paint adhere to the paper. This is why it is always very important to test our paint carefully to ensure there is enough binder in it!
Materials used:
powdered pigments (various)
a glass muller
a sand blasted glass grinding slab (you can also use polished marble slabs)
gum Arabic solution (also called gum water) - It is also possible to buy gum arabic crystals and make up your own solution of gum arabic, but this isn't something we covered in this class
honey
clean water
small bowls to decant the freshly made paint into
(Please note that in the images you can see that we used a lot of pigment - but if you decide to try this at home, please bear in mind that we were making enough paint to share across the whole class and still had plenty left over!)
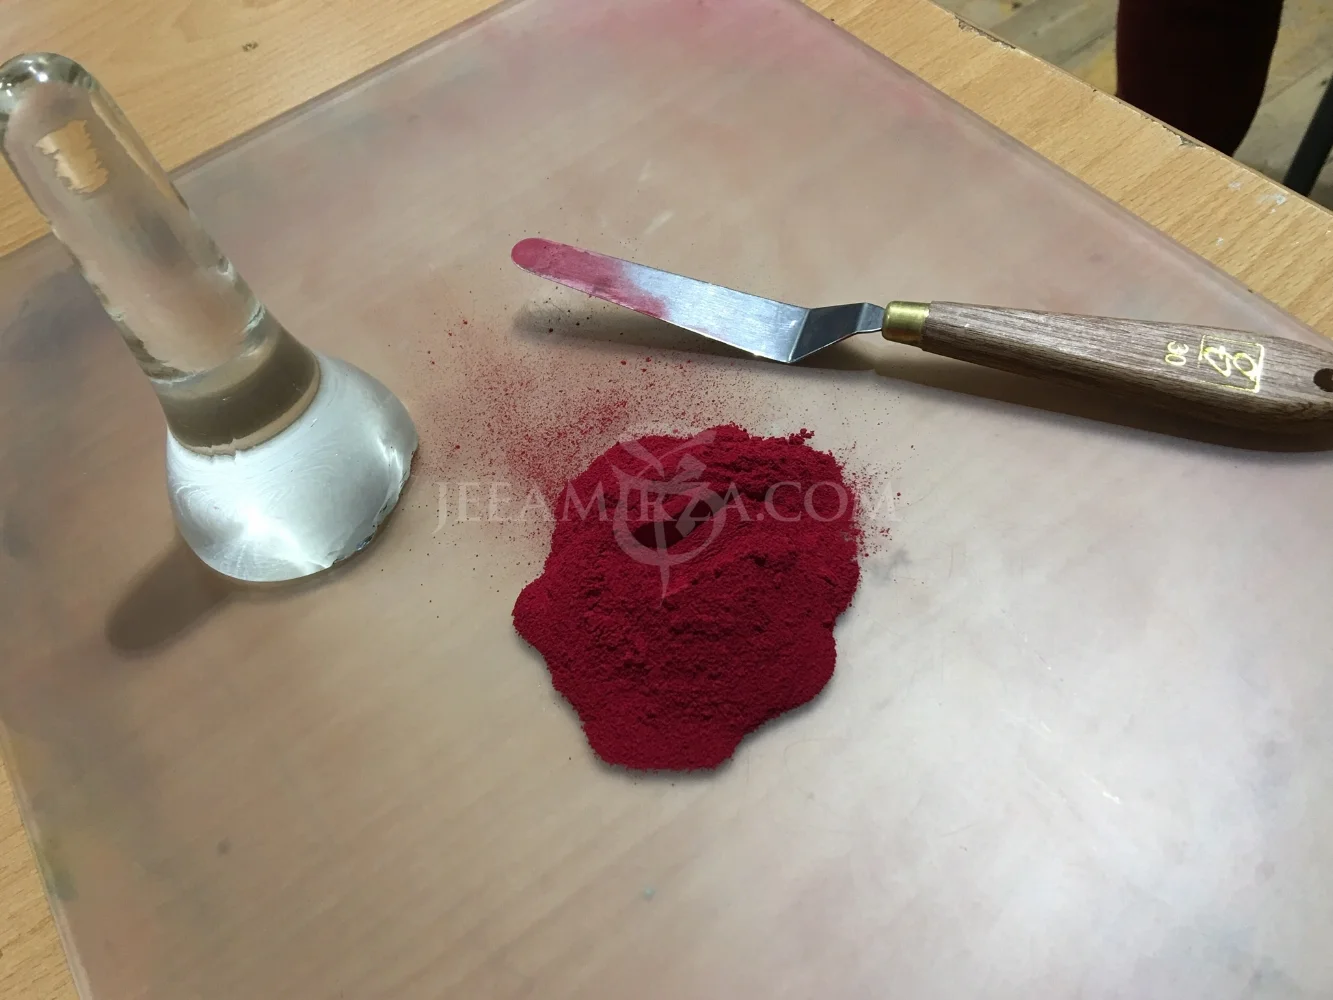
Alizarin Crimson pigment shown next to a glass muller and palette knife
The Process
The process to make the paint is actually quite simple - but takes time, patience and a little bit of hard work!
We started by taking some pigment and placing it onto the centre of our grinding slab. Using a palette knife - we created a small well at the centre of the pile of pigment (very much like you would do when baking).
Into this well we added a few drops of gum Arabic solution, and began to fold this into the pigment powder. We slowly added clean water to this mix and continued to fold the mixture together until we arrived at a fairly thick, somewhat sludgy consistency. Once the pigment was fully coated with the mix of water and gum solution, we began the grinding process. This grinding or mulling ensures that all the pigment particles are evenly coated in the gum and water mixture and are ground finely enough to paint with.
The hardest part is probably knowing when to stop - the guidance we received was that we needed to continue grinding until we could no longer hear the grinding process!
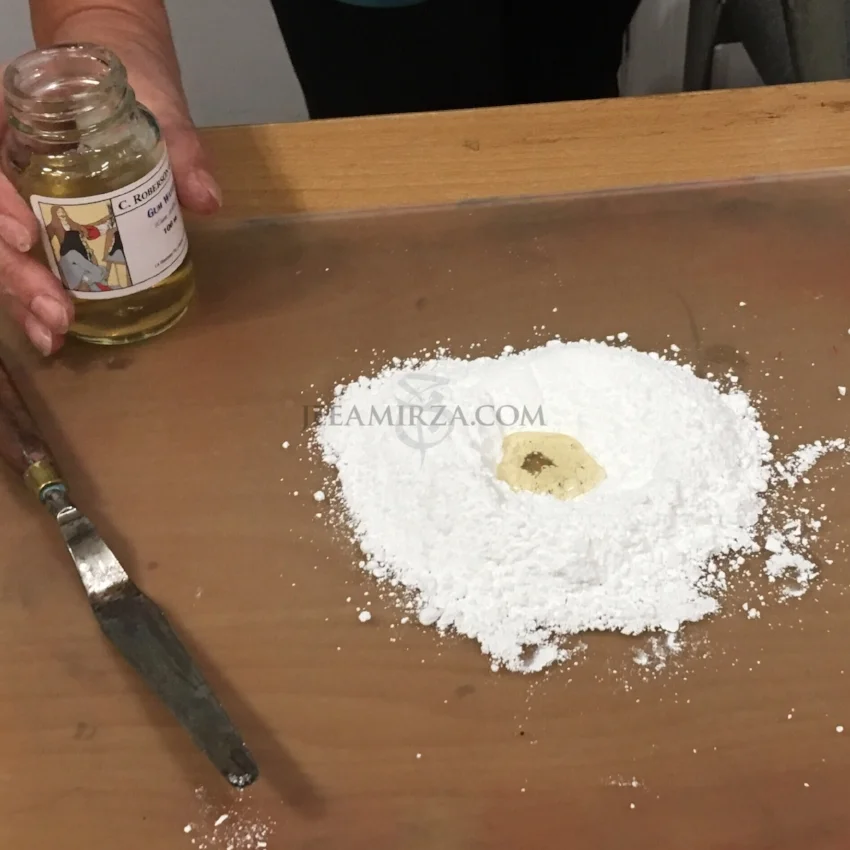
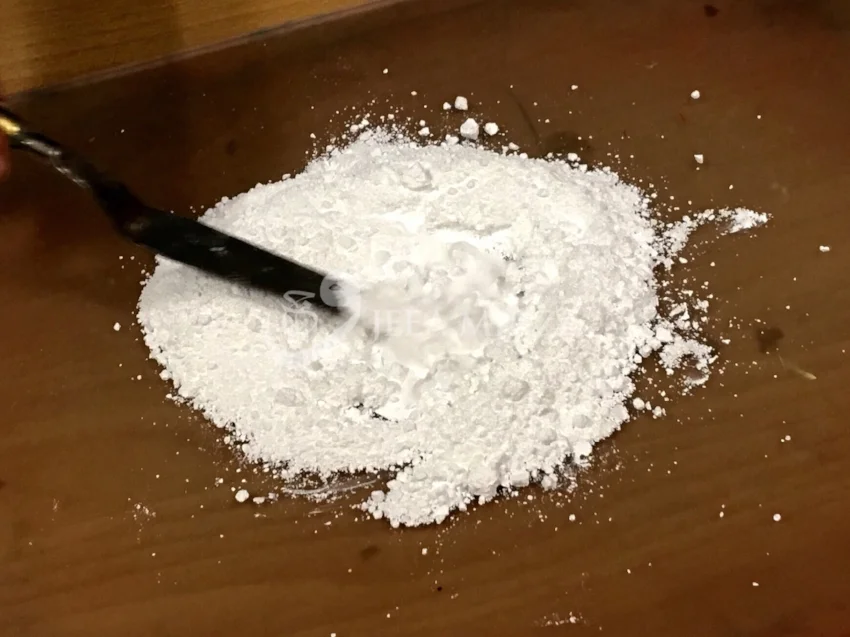
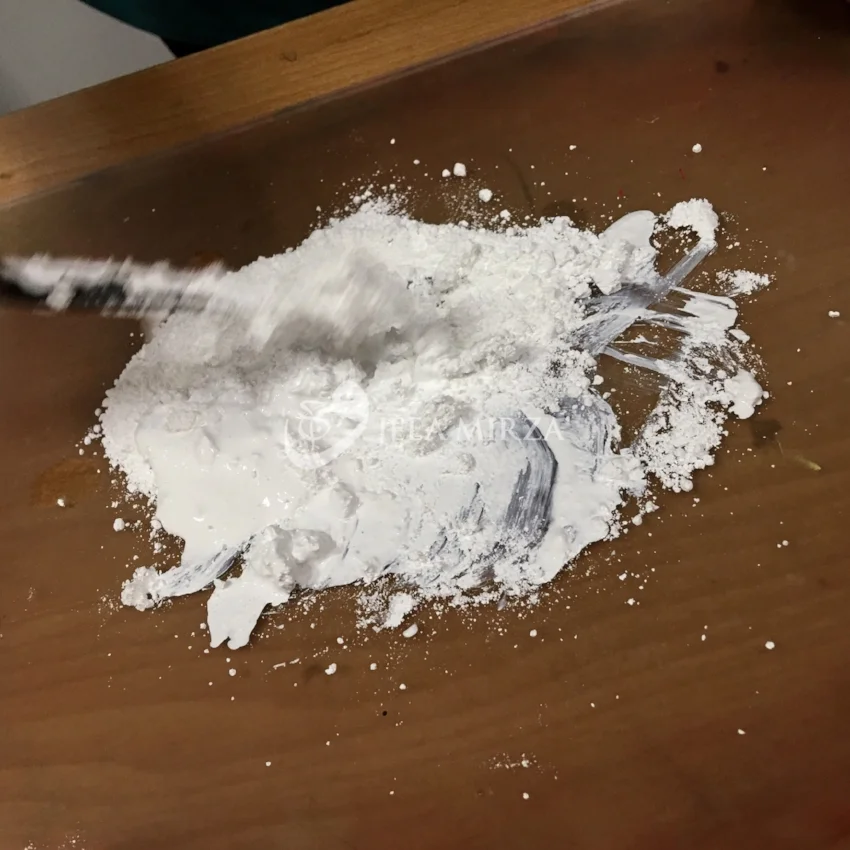
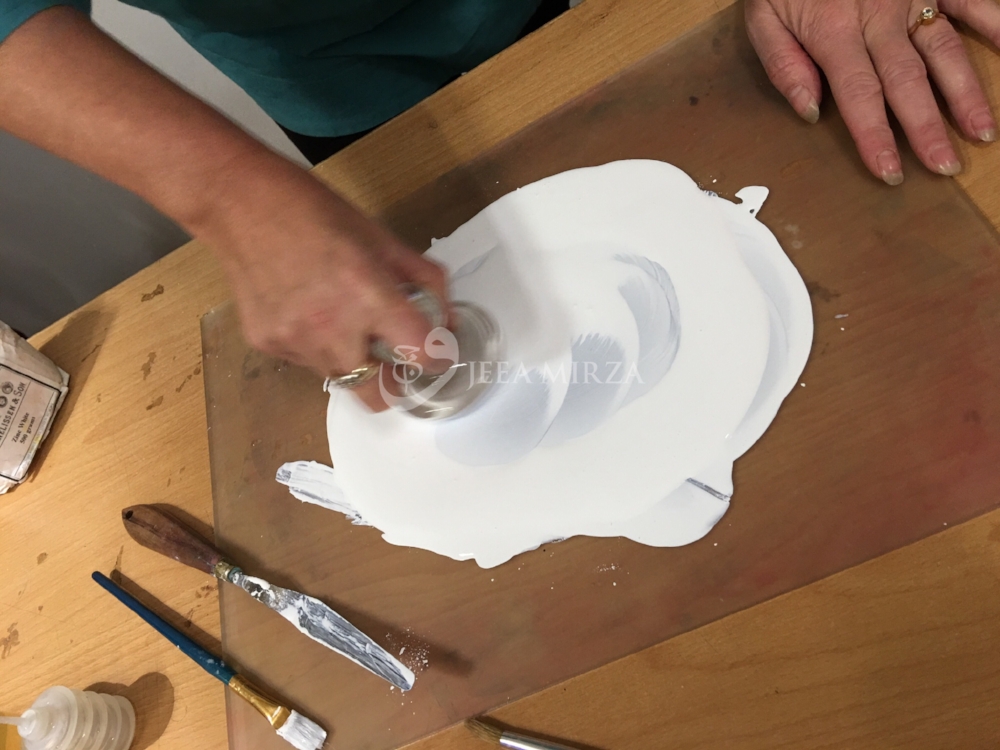
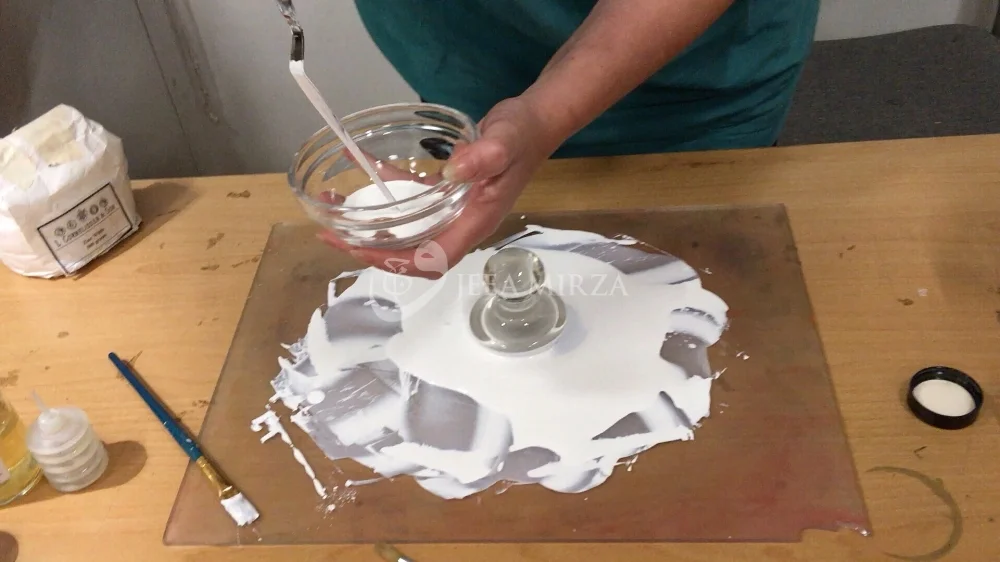
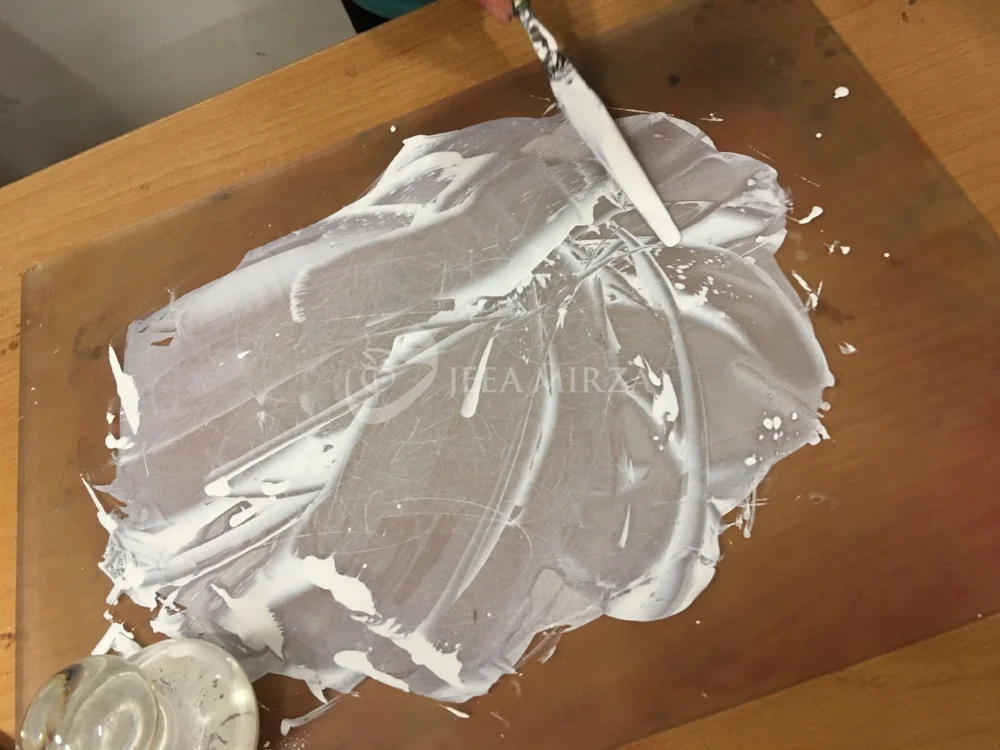
At this stage, I imagine many of you are thinking "how much gum did they actually add?" and "how much water exactly?" oh and "for how long do you really need to grind each pigment; and is it possible to over or under grind?"
Unfortunately I can't provide specific quantities or measurements, in part because each pigment is different and therefore requires a unique "recipe" to turn it into paint. The key thing to remember is to add the gum and the water slowly and grind until the movement becomes smooth and relatively quiet. Although I do know some artists who like to stop whilst there is still a little noise as too much grinding can diminish the vibrancy of the colour.
For some pigments we also added a drop or two of honey to the mix to aid with smoothness and to stop the paint from drying out too quickly when painting with it.
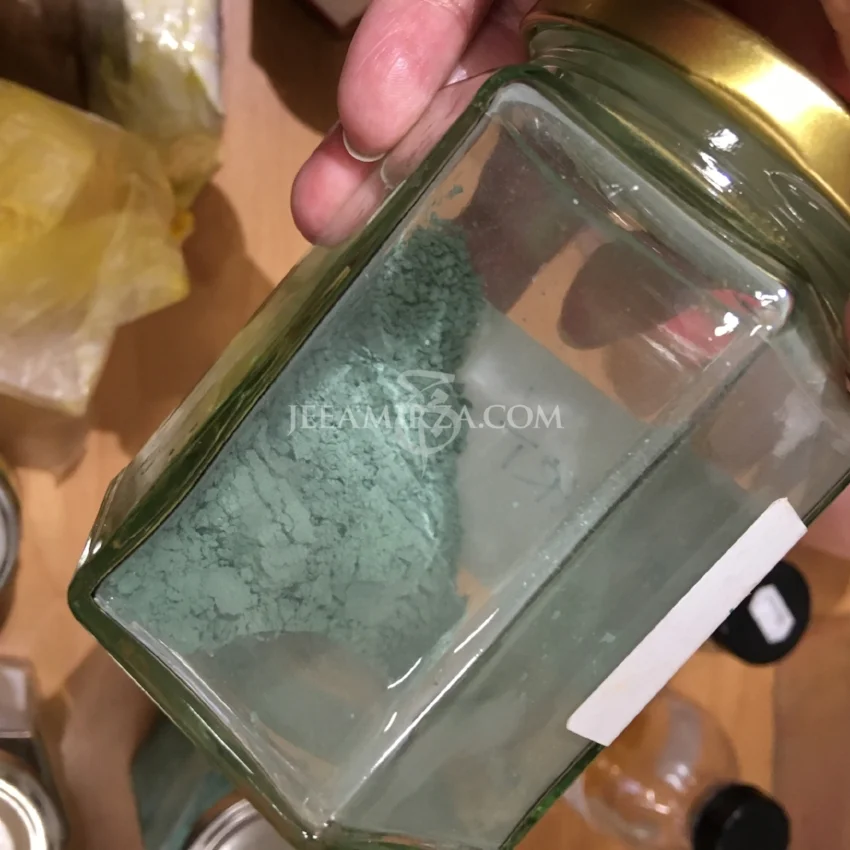
As I mentioned above, for some pigments over grinding can be a problem. One example is malachite where over grinding can turn the glorious vibrant green into a greyish hue so it is important to watch the pigment closely and engage all your senses when working.
For me this is what I love most about the whole process - it isn't a set of prescriptive rules or formulas that one can simply learn and do, rather as with most traditional crafts, learning this discipline takes patience, practise and reflection; and where possible requires guidance from a teacher or master.
Step 3 - Testing the paint
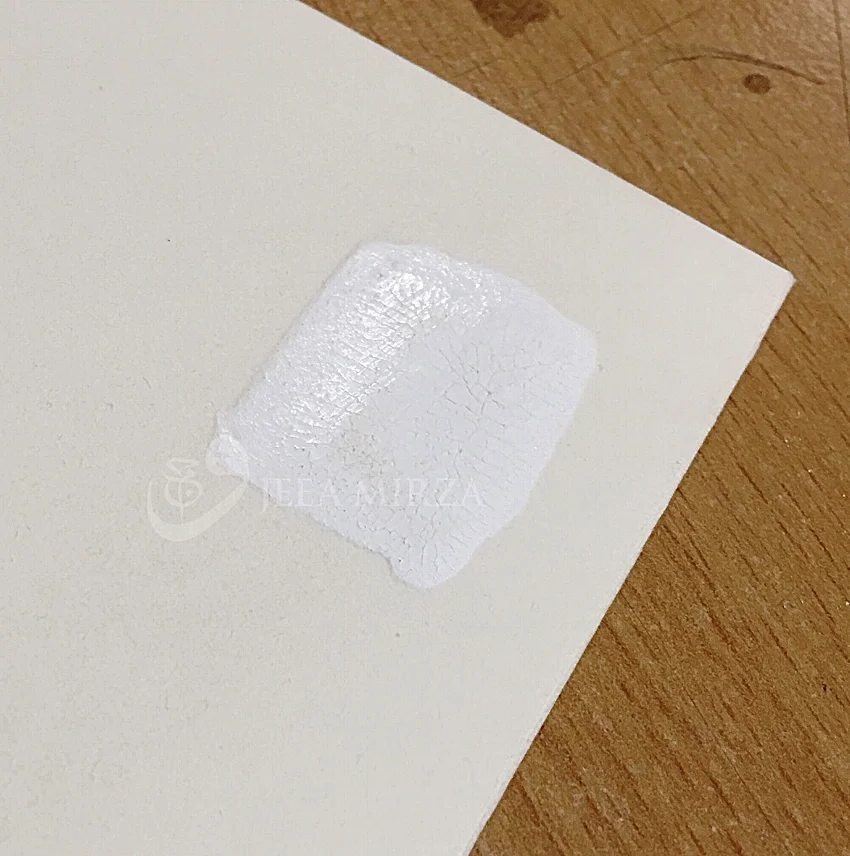
The final step in the process was to test our paint to ensure that we had added the right amount of binder to it to turn it into a usable paint. Too little binder (gum arabic) results in the pigment not adhering to the surface properly and too much will result in the paint cracking.
The only way to be sure is to test the paint before using it by painting small swatches of colour onto paper and testing these carefully.
Note - this swatch test should be done each time the paint dries out and after it is re-constituted with water.
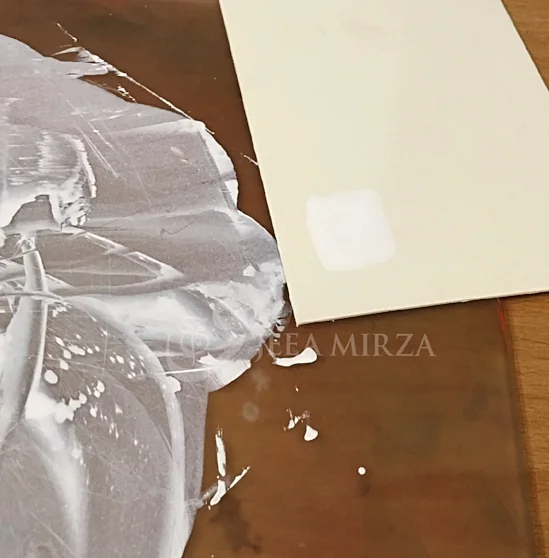
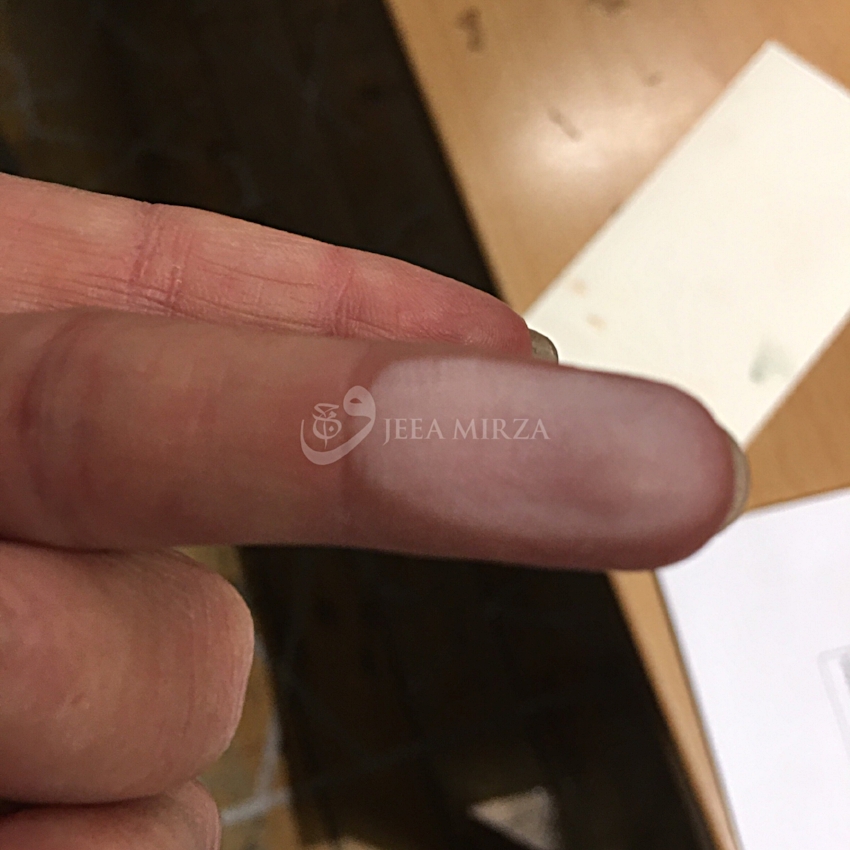
We allowed the paint swatches to dry fully before brushing a clean finger across the painted swatch. Upon examination if the paint moves in any way, or comes off on your finger it's a clear sign that the mixture does not contain enough gum. This is addressed easily by adding a few more drops of gum arabic to the paint mixture on the slab and re-mulling to ensure the additional gum is incorporated into the mixture.
Once done we painted a fresh swatch and repeated the testing process until we were satisfied the paint had the right amount of gum in it.
Once the paint had been tested and we were satisfied with the consistency and gum content we used a palette knife to scrape up the paint and transferred it into small bowls. When the paint dries out in these bowls it can be reconstituted by adding water and giving it a good mix. Once re-constituted it is important to swatch and re-test the paint as each time water is added it dilutes the gum content and you may need to add an extra drop or two into the bowl.
Traditionally Indian miniature artists use a clean finger to mix the paint in the bowls until it is fully reconstituted. I think this is fine for pigments that are not toxic, but some pigments are harmful and all manufacturer safety guidelines and precautions should be followed at all times when using them.
Personally speaking, for pigments that I know to be toxic or harmful, I always use gloves when handling them and I use a stiff bristle brush to remix the paint when I am re-constituting it. Please also remember to always keep pigments away from food and drink and store safely and securely away from children or from anyone without the correct knowledge and skills to handle them.
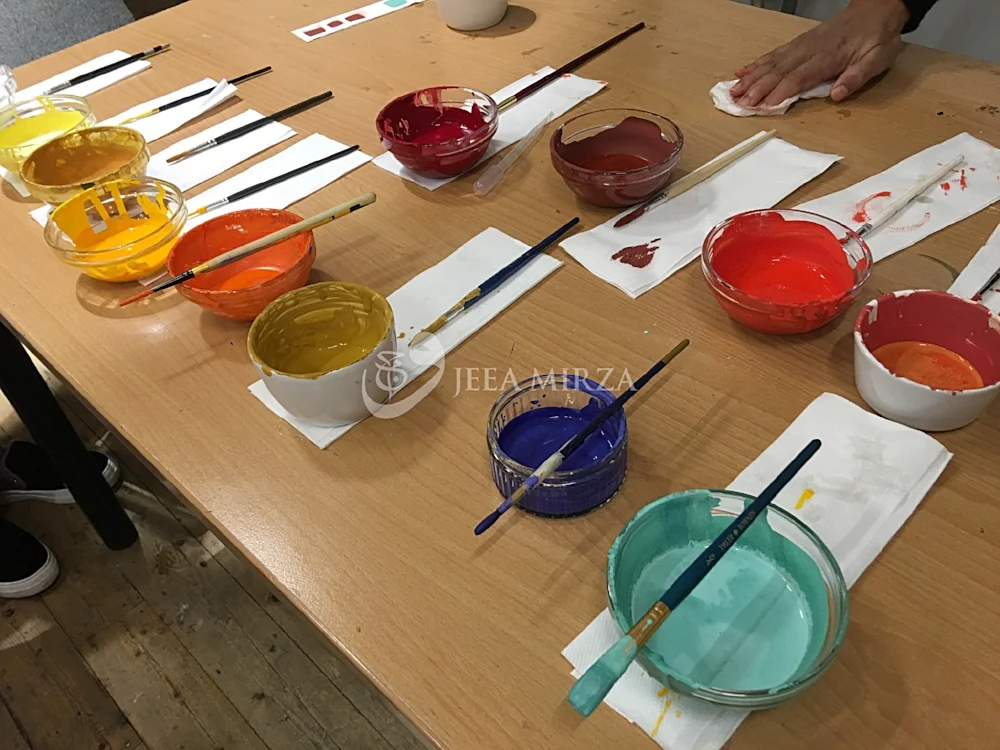
A selection of paints ground by the students during the class
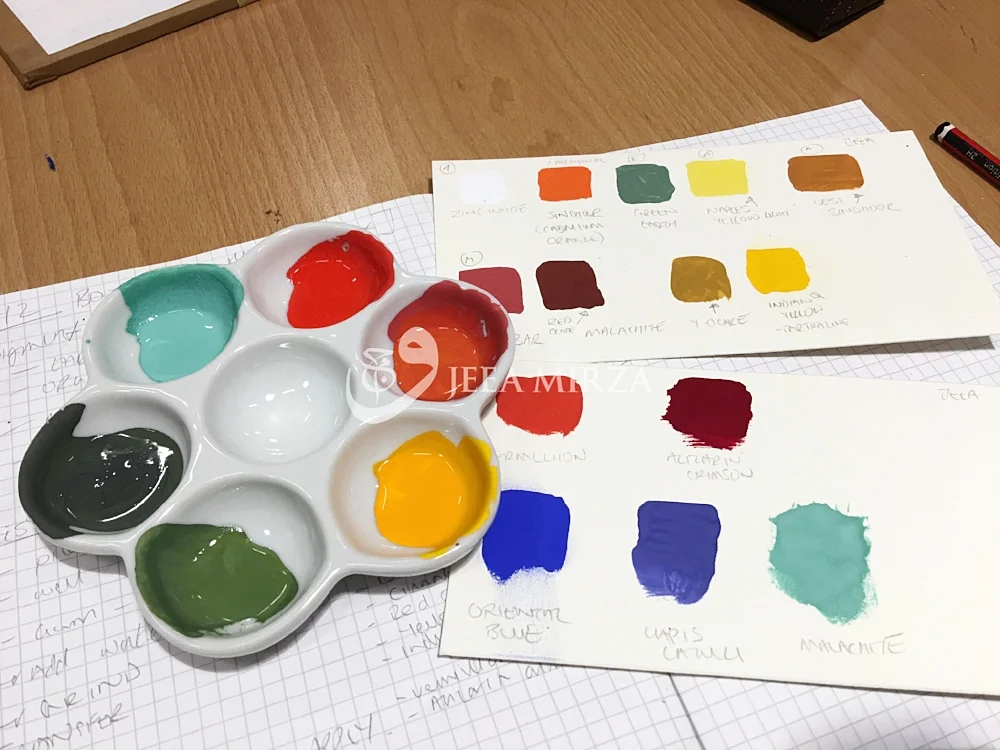
My palette and paint swatches
That really brings us to the end of day 2 of the course. I hope you enjoyed reading this post and that you find the information interesting or helpful in some way. As for days 3 and 4, well I will probably manage those together in one final post, but I may need some time to recover from writing this one before I get started on that!
As always, please feel free to share the post and ask questions or leave feedback below and I will do my best to come back to you as soon as I can.
Jeea


