Disclosure: This post may contain affiliate links, which means I may receive a small commission if you decide to make a purchase through my links at no extra cost to you.
Hi everyone, hope you’re all doing well! I am really excited about this blog post as I have wanted to write it for a long time, but have never quite managed to get round to it. Over the years I have often been asked questions about how I achieve such straight outlines in some of my paintings, today I am hoping to share some answers and give you guys the information you need to try this in your own work if that’s what you want to do. Of course no tutorial or demo is ever perfect, so if you have any questions at the end of it - please do comment below and I will do my best to answer or to point you in the right direction!
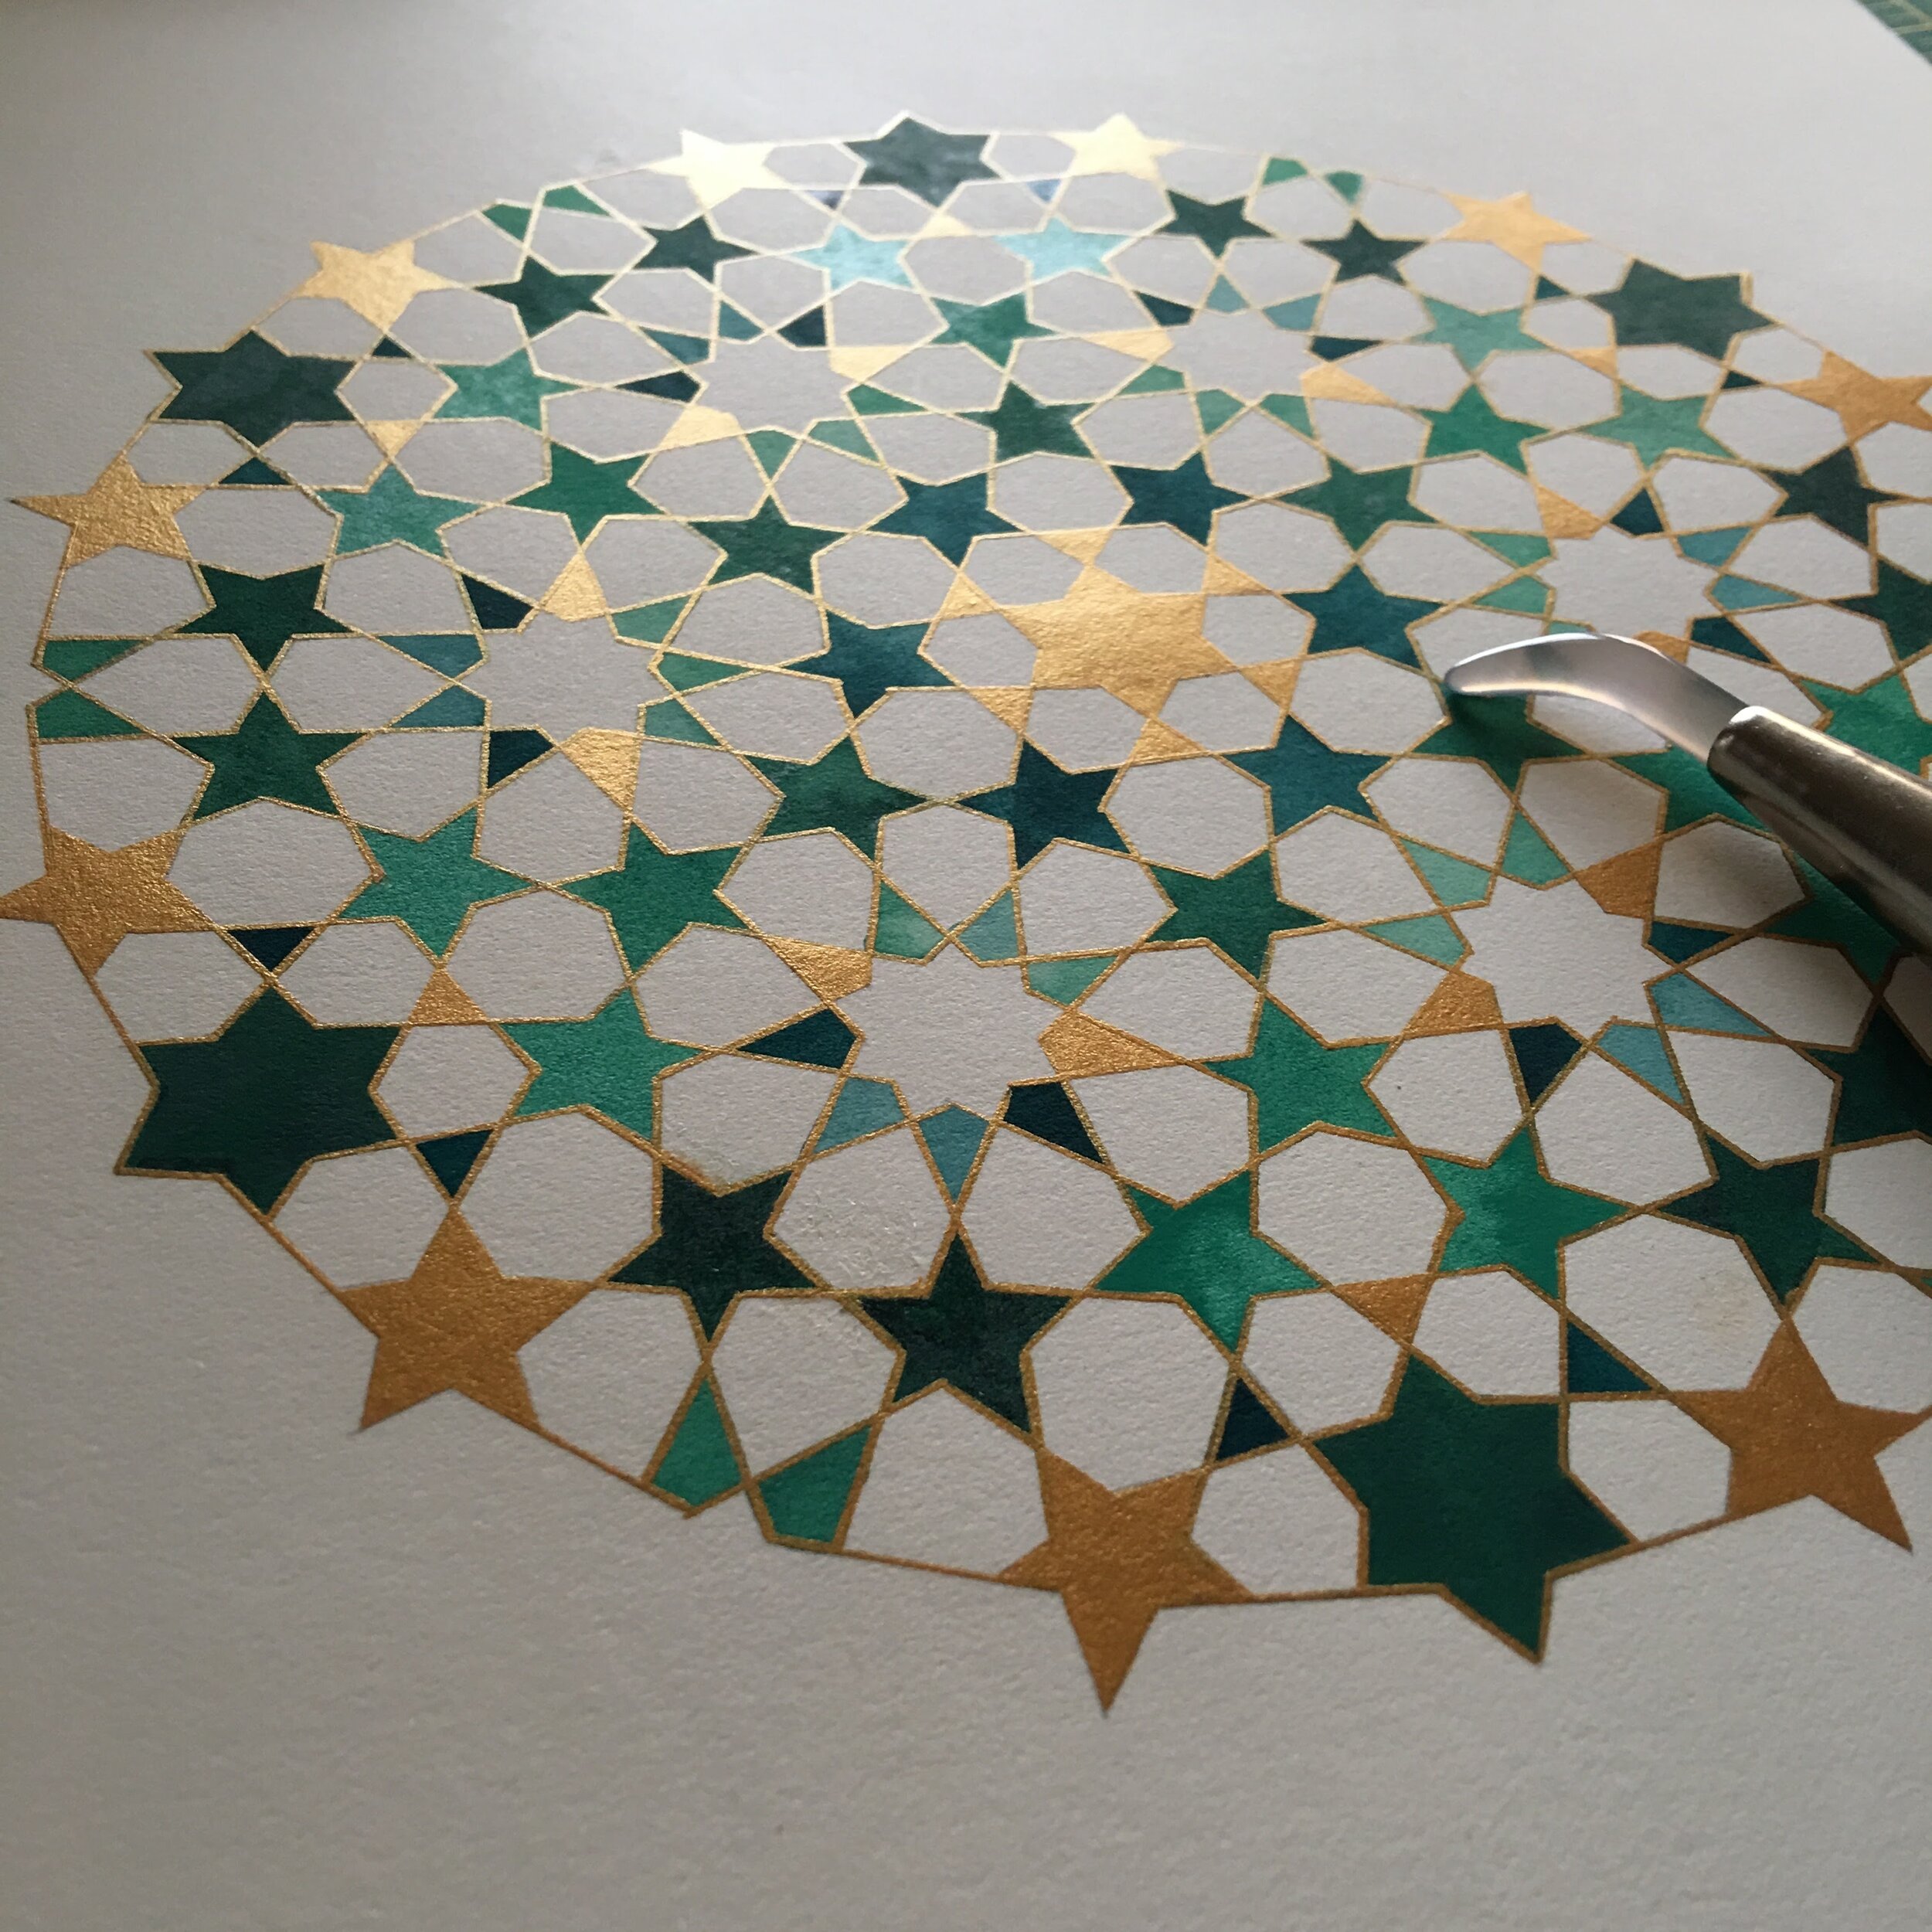
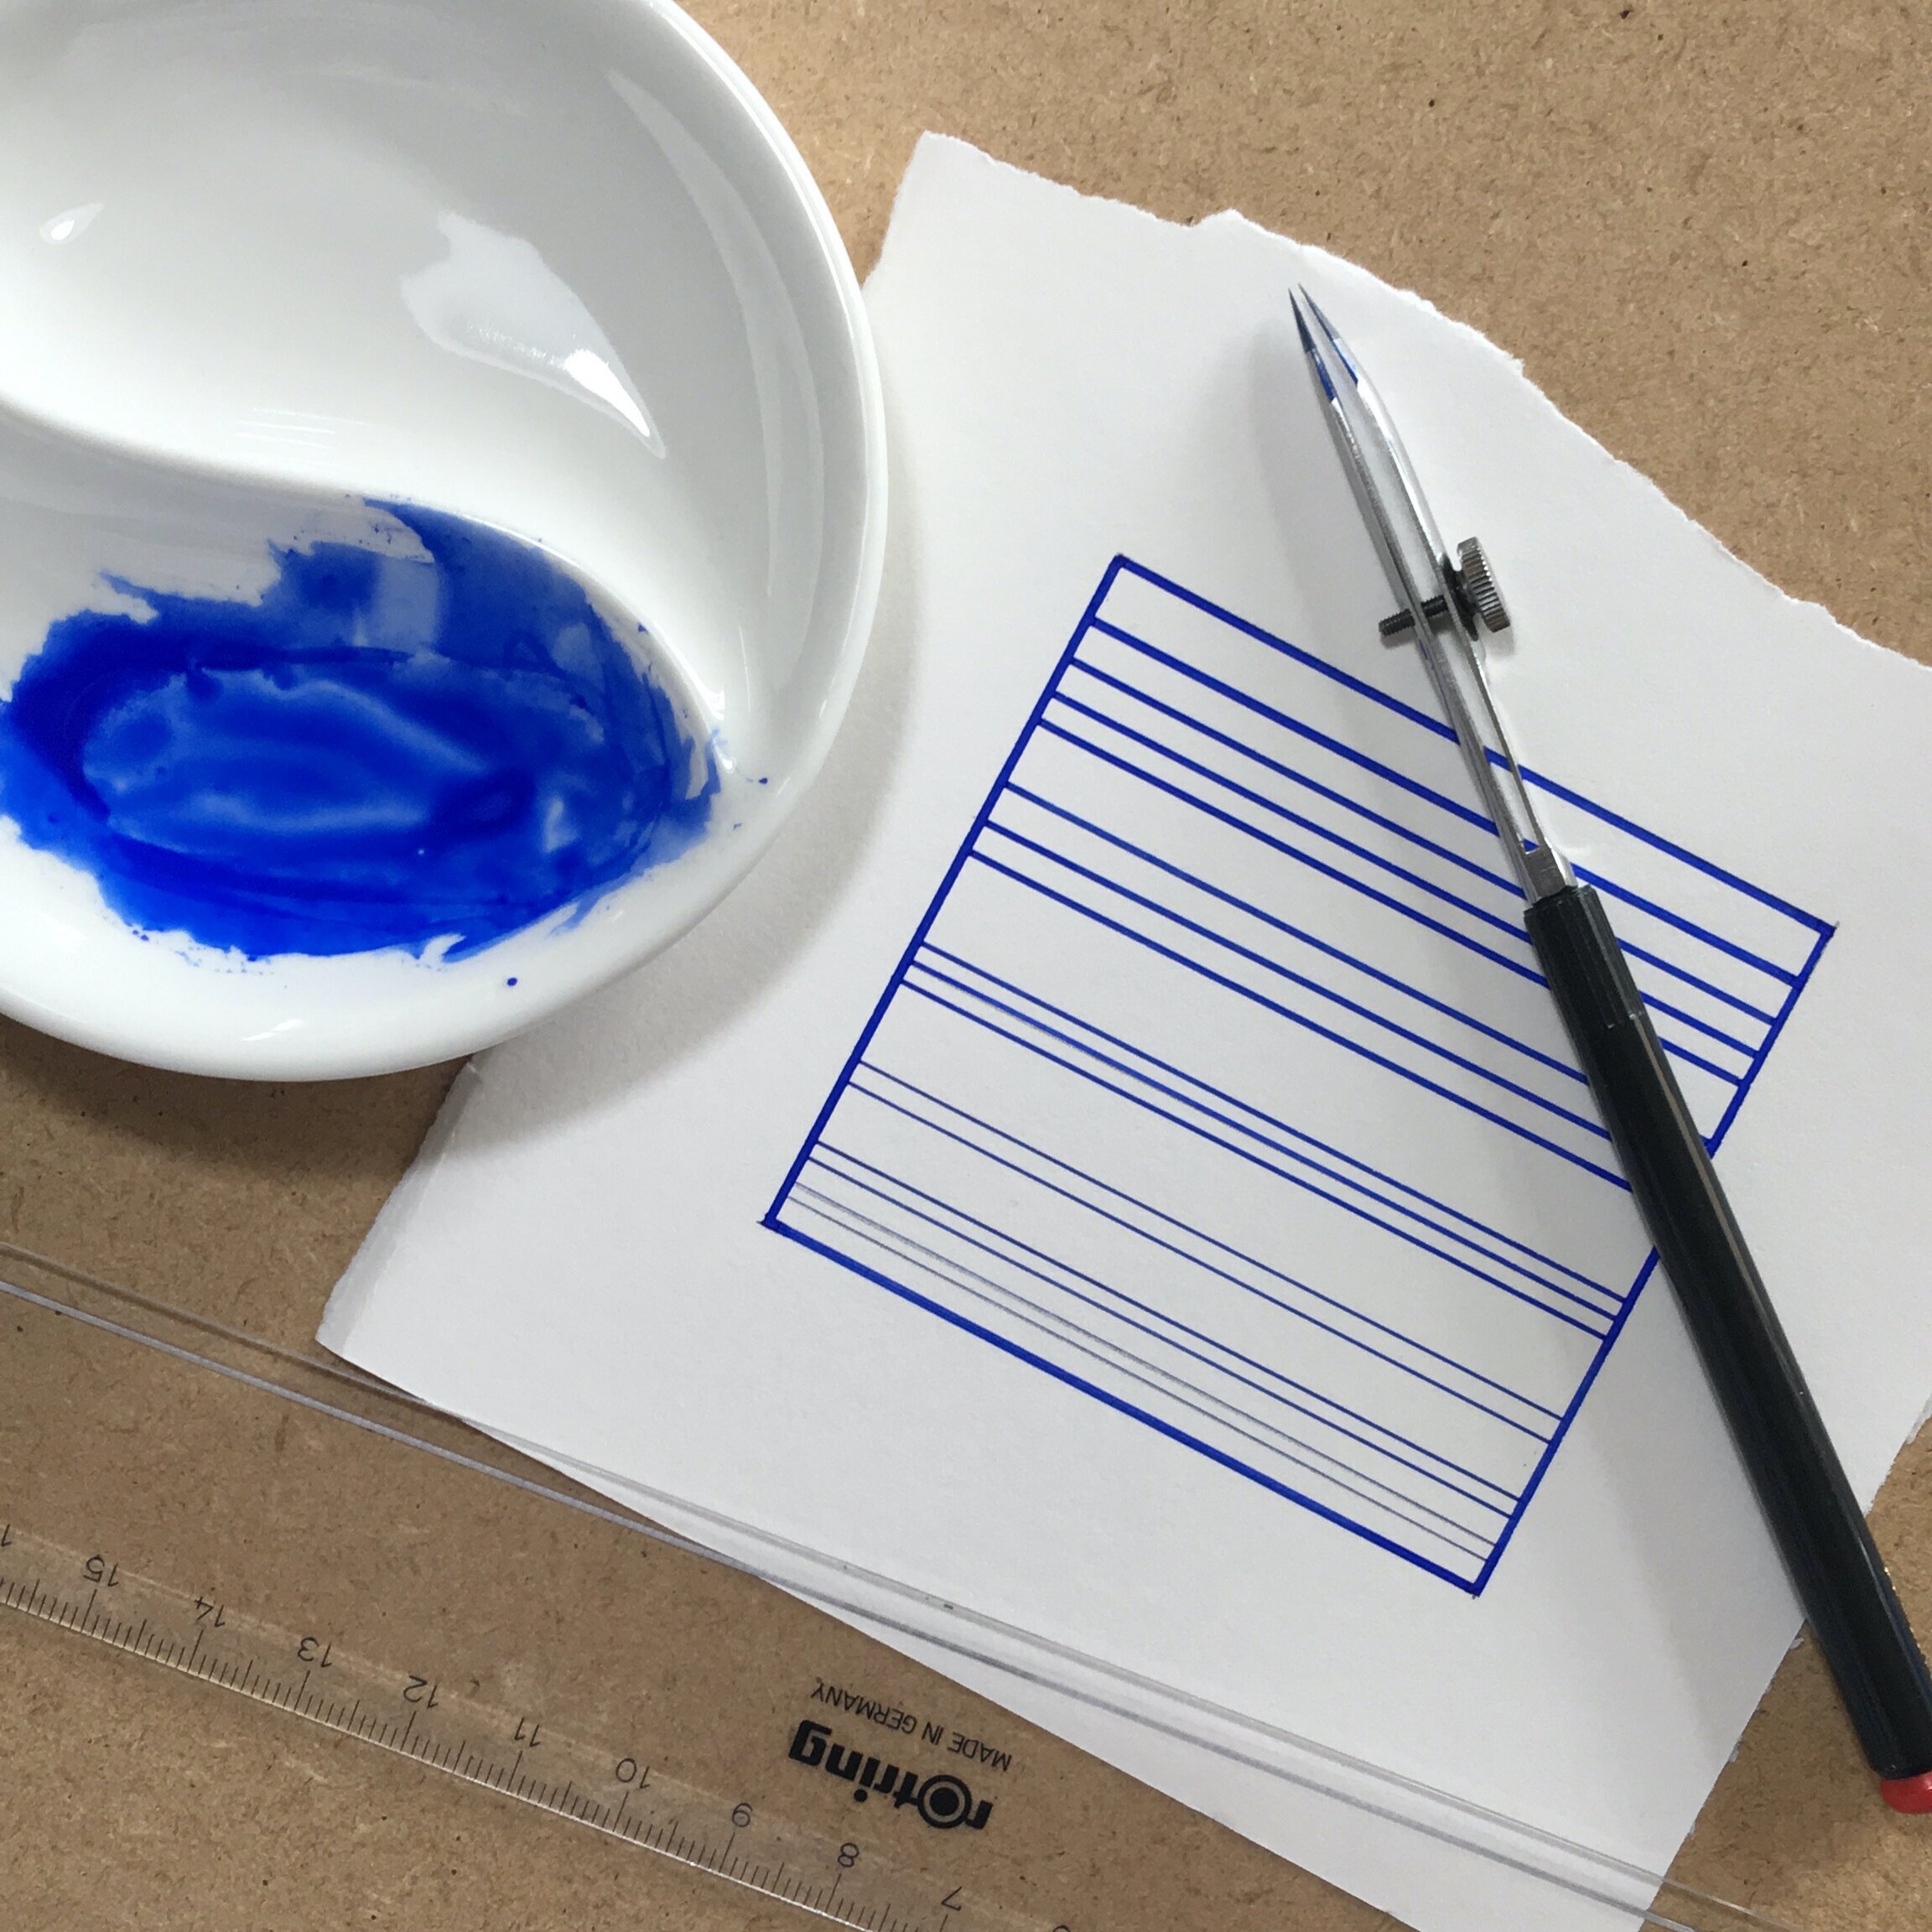
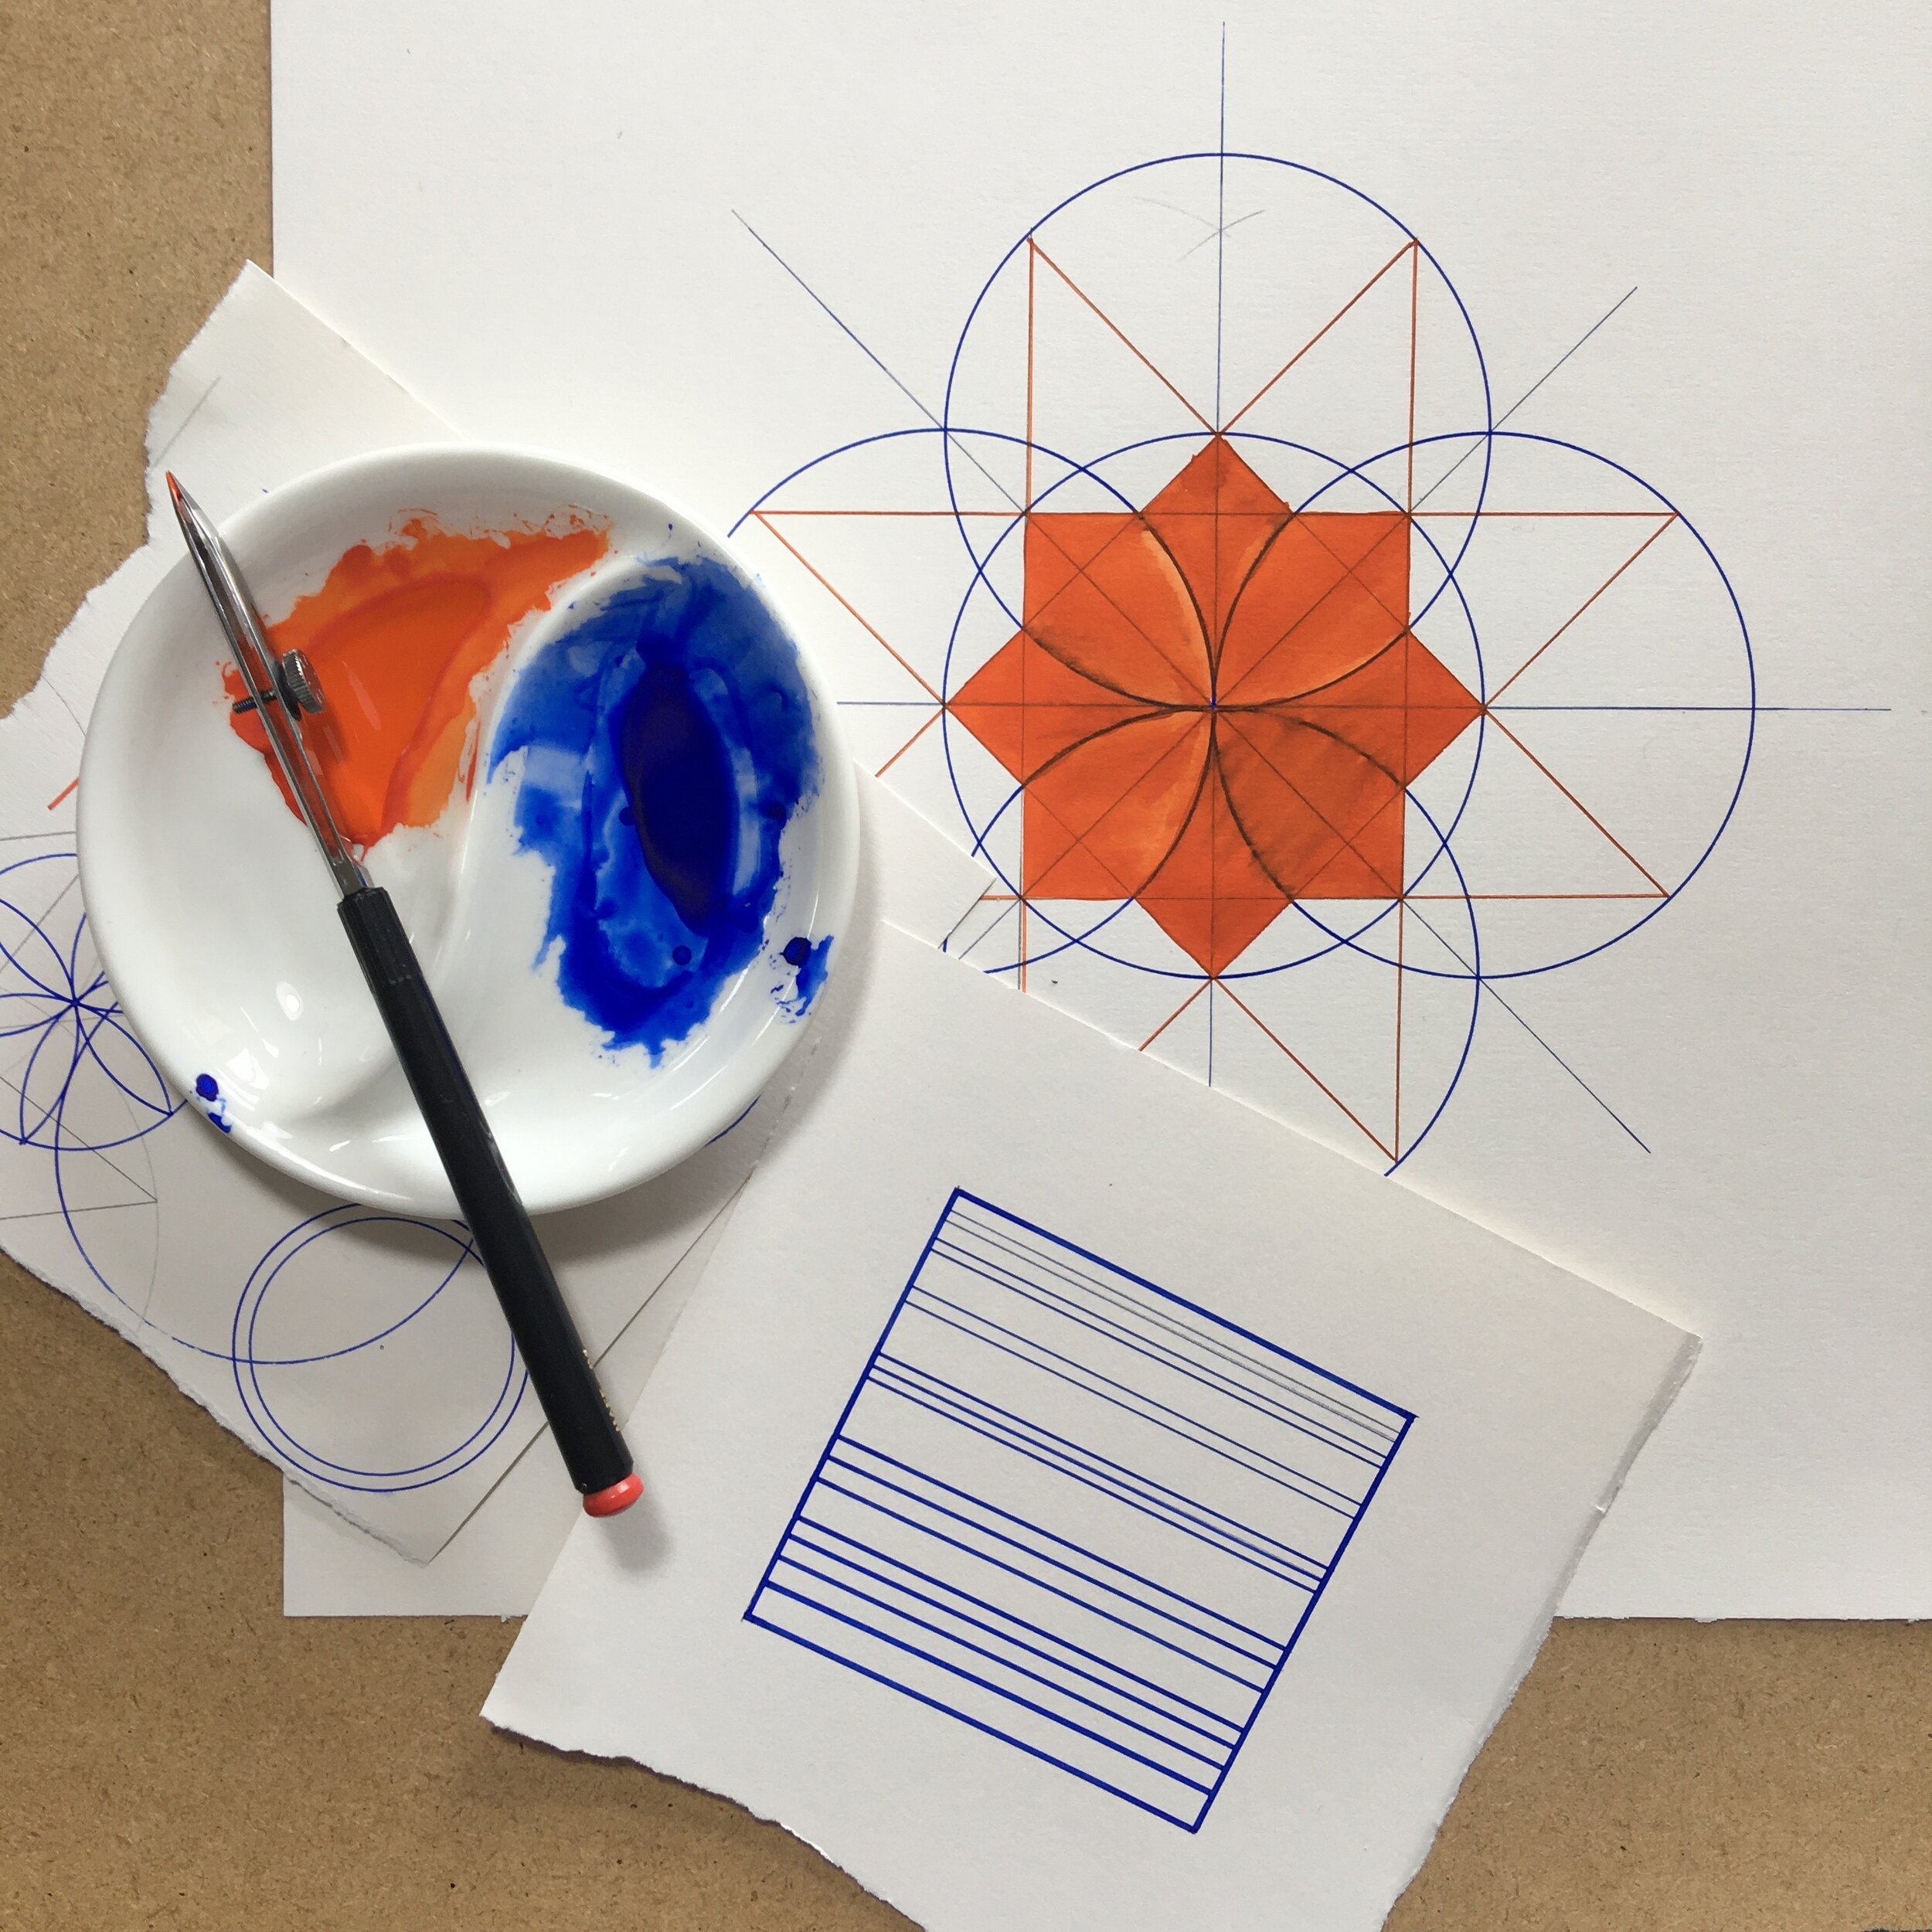
1. Coliro Finetec paint shown with some test drawings
So where to begin….well since I started to write this post something wonderful has happened. A new resource has become available courtesy of Alan Adams - a master geometer and draftsman based in the United States. Alan has generously started to collate his wealth of knowledge and geometry resources into a new website at www.drawingislamicgeometricdesigns.com The site already features some fantastic information on tools and materials including a wonderful article on ruling pens, their uses, maintenance and care in a huge amount of detail.
You can find that article here: Please do take some time to check it out as it is an invaluable resource and it addresses pretty much everything you will need to know to get the best out of your tools. I have learned a huge amount from it; and now realise that I have actually been extremely fortunate with my own ruling pens which have not required a huge amount of care or maintenance since I acquired them.
My focus for this tutorial is not to try and recreate what Alan has already written (which is both more proficient and more eloquent than I could ever hope to be on this subject), but to share with you how I use ruling pens in my art practice. To be clear, I am not a technical expert or a professional draftsperson but I have been using ruling pens in my work for several years now; and have achieved some great results with them.
I aim to provide a quick practical guide on how I use my ruling pens and to show you some of the results I have achieved with them.
I will show you how I fill the ruling pen and load it up with paint or ink
I will show you how I place the pen against a straight edge and draw a line with it, without creating any smudges
I will share some of my top tips about using ruling pens - things I have learned through trial and error since I started using these delightful instruments!
If this interests you read on and enjoy the video!
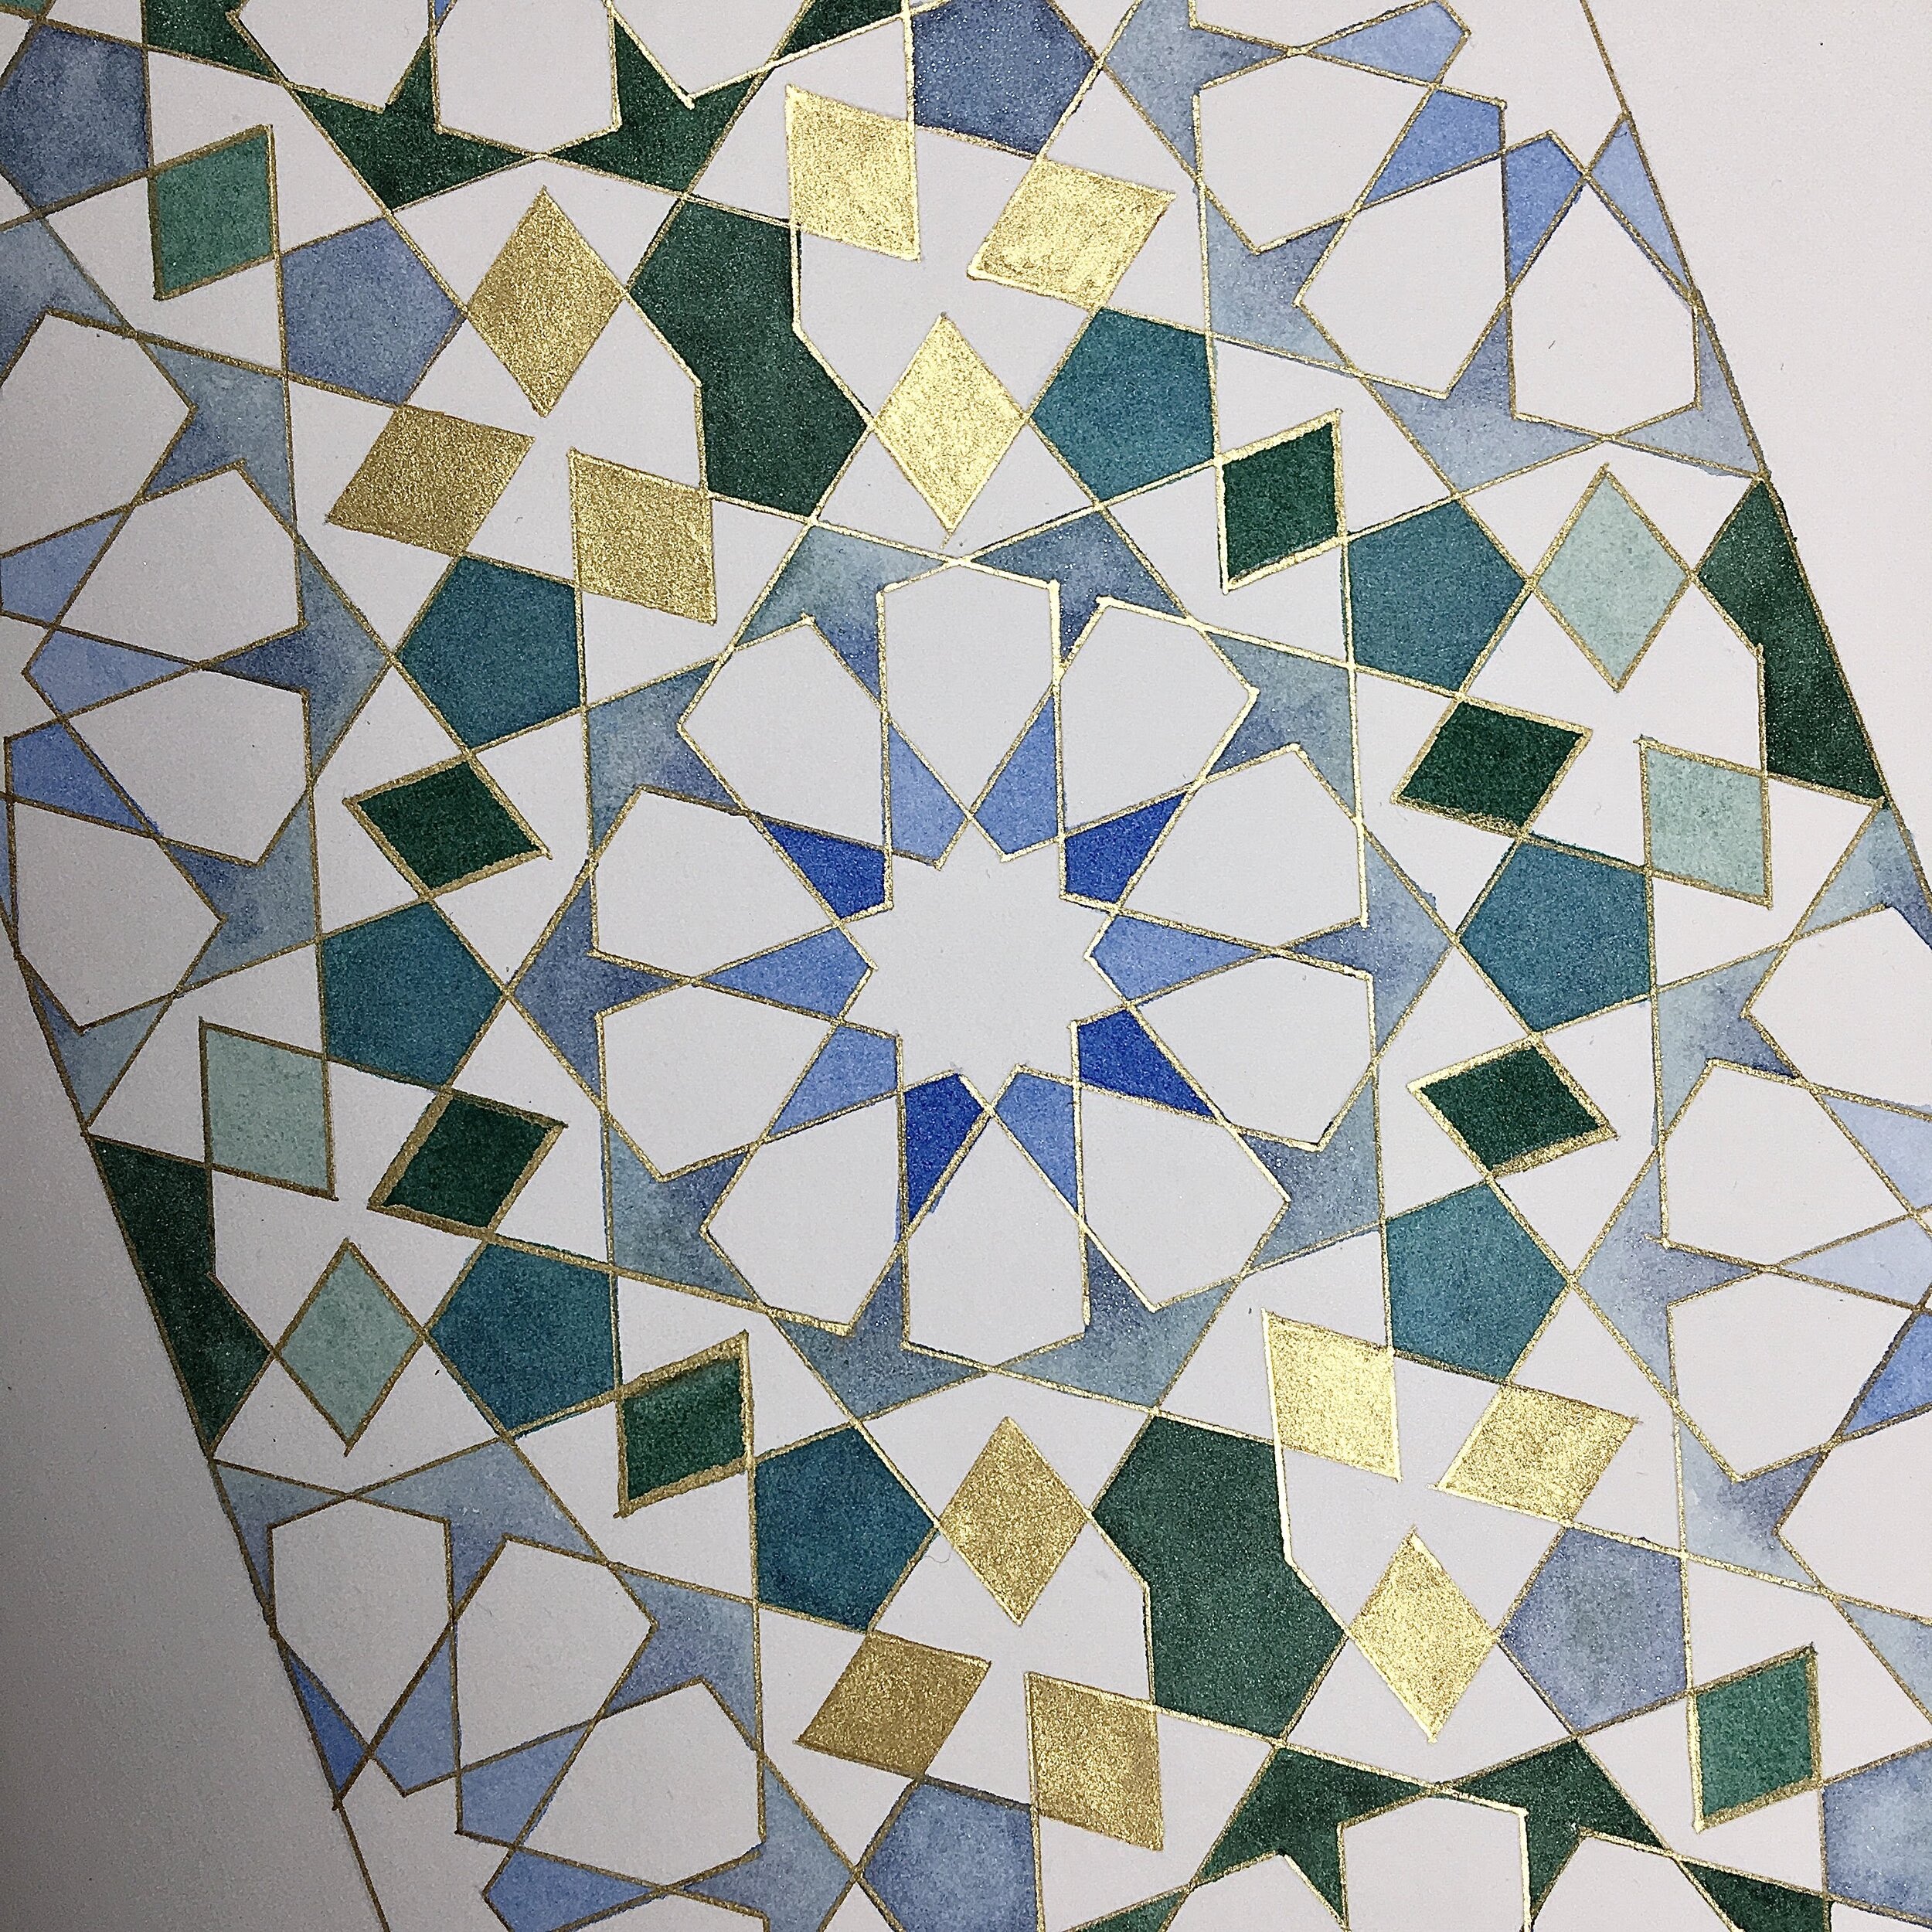
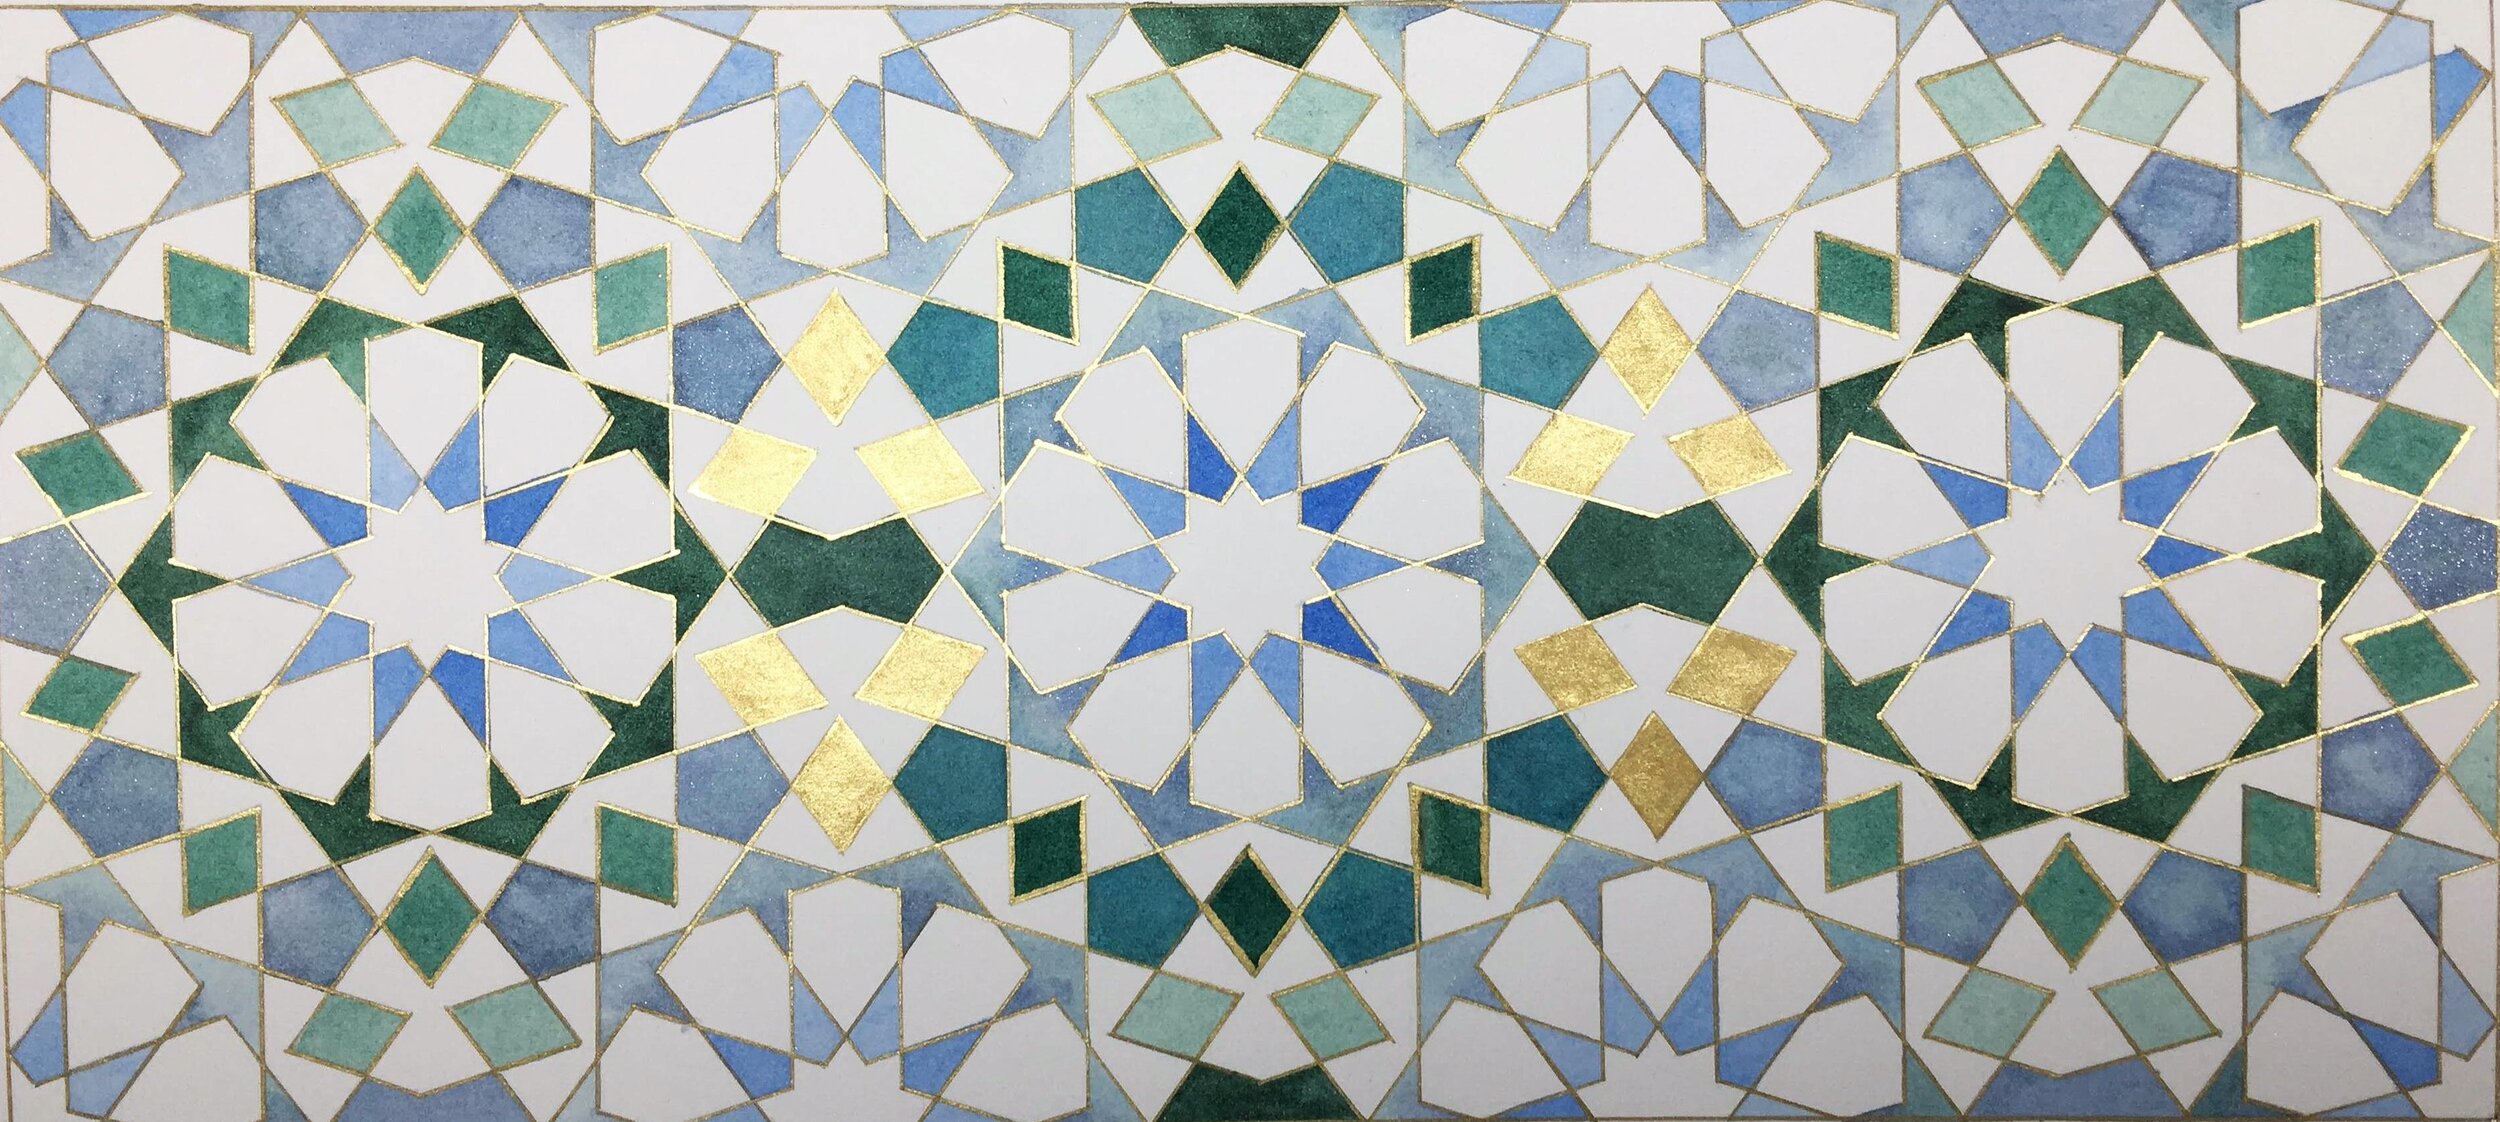
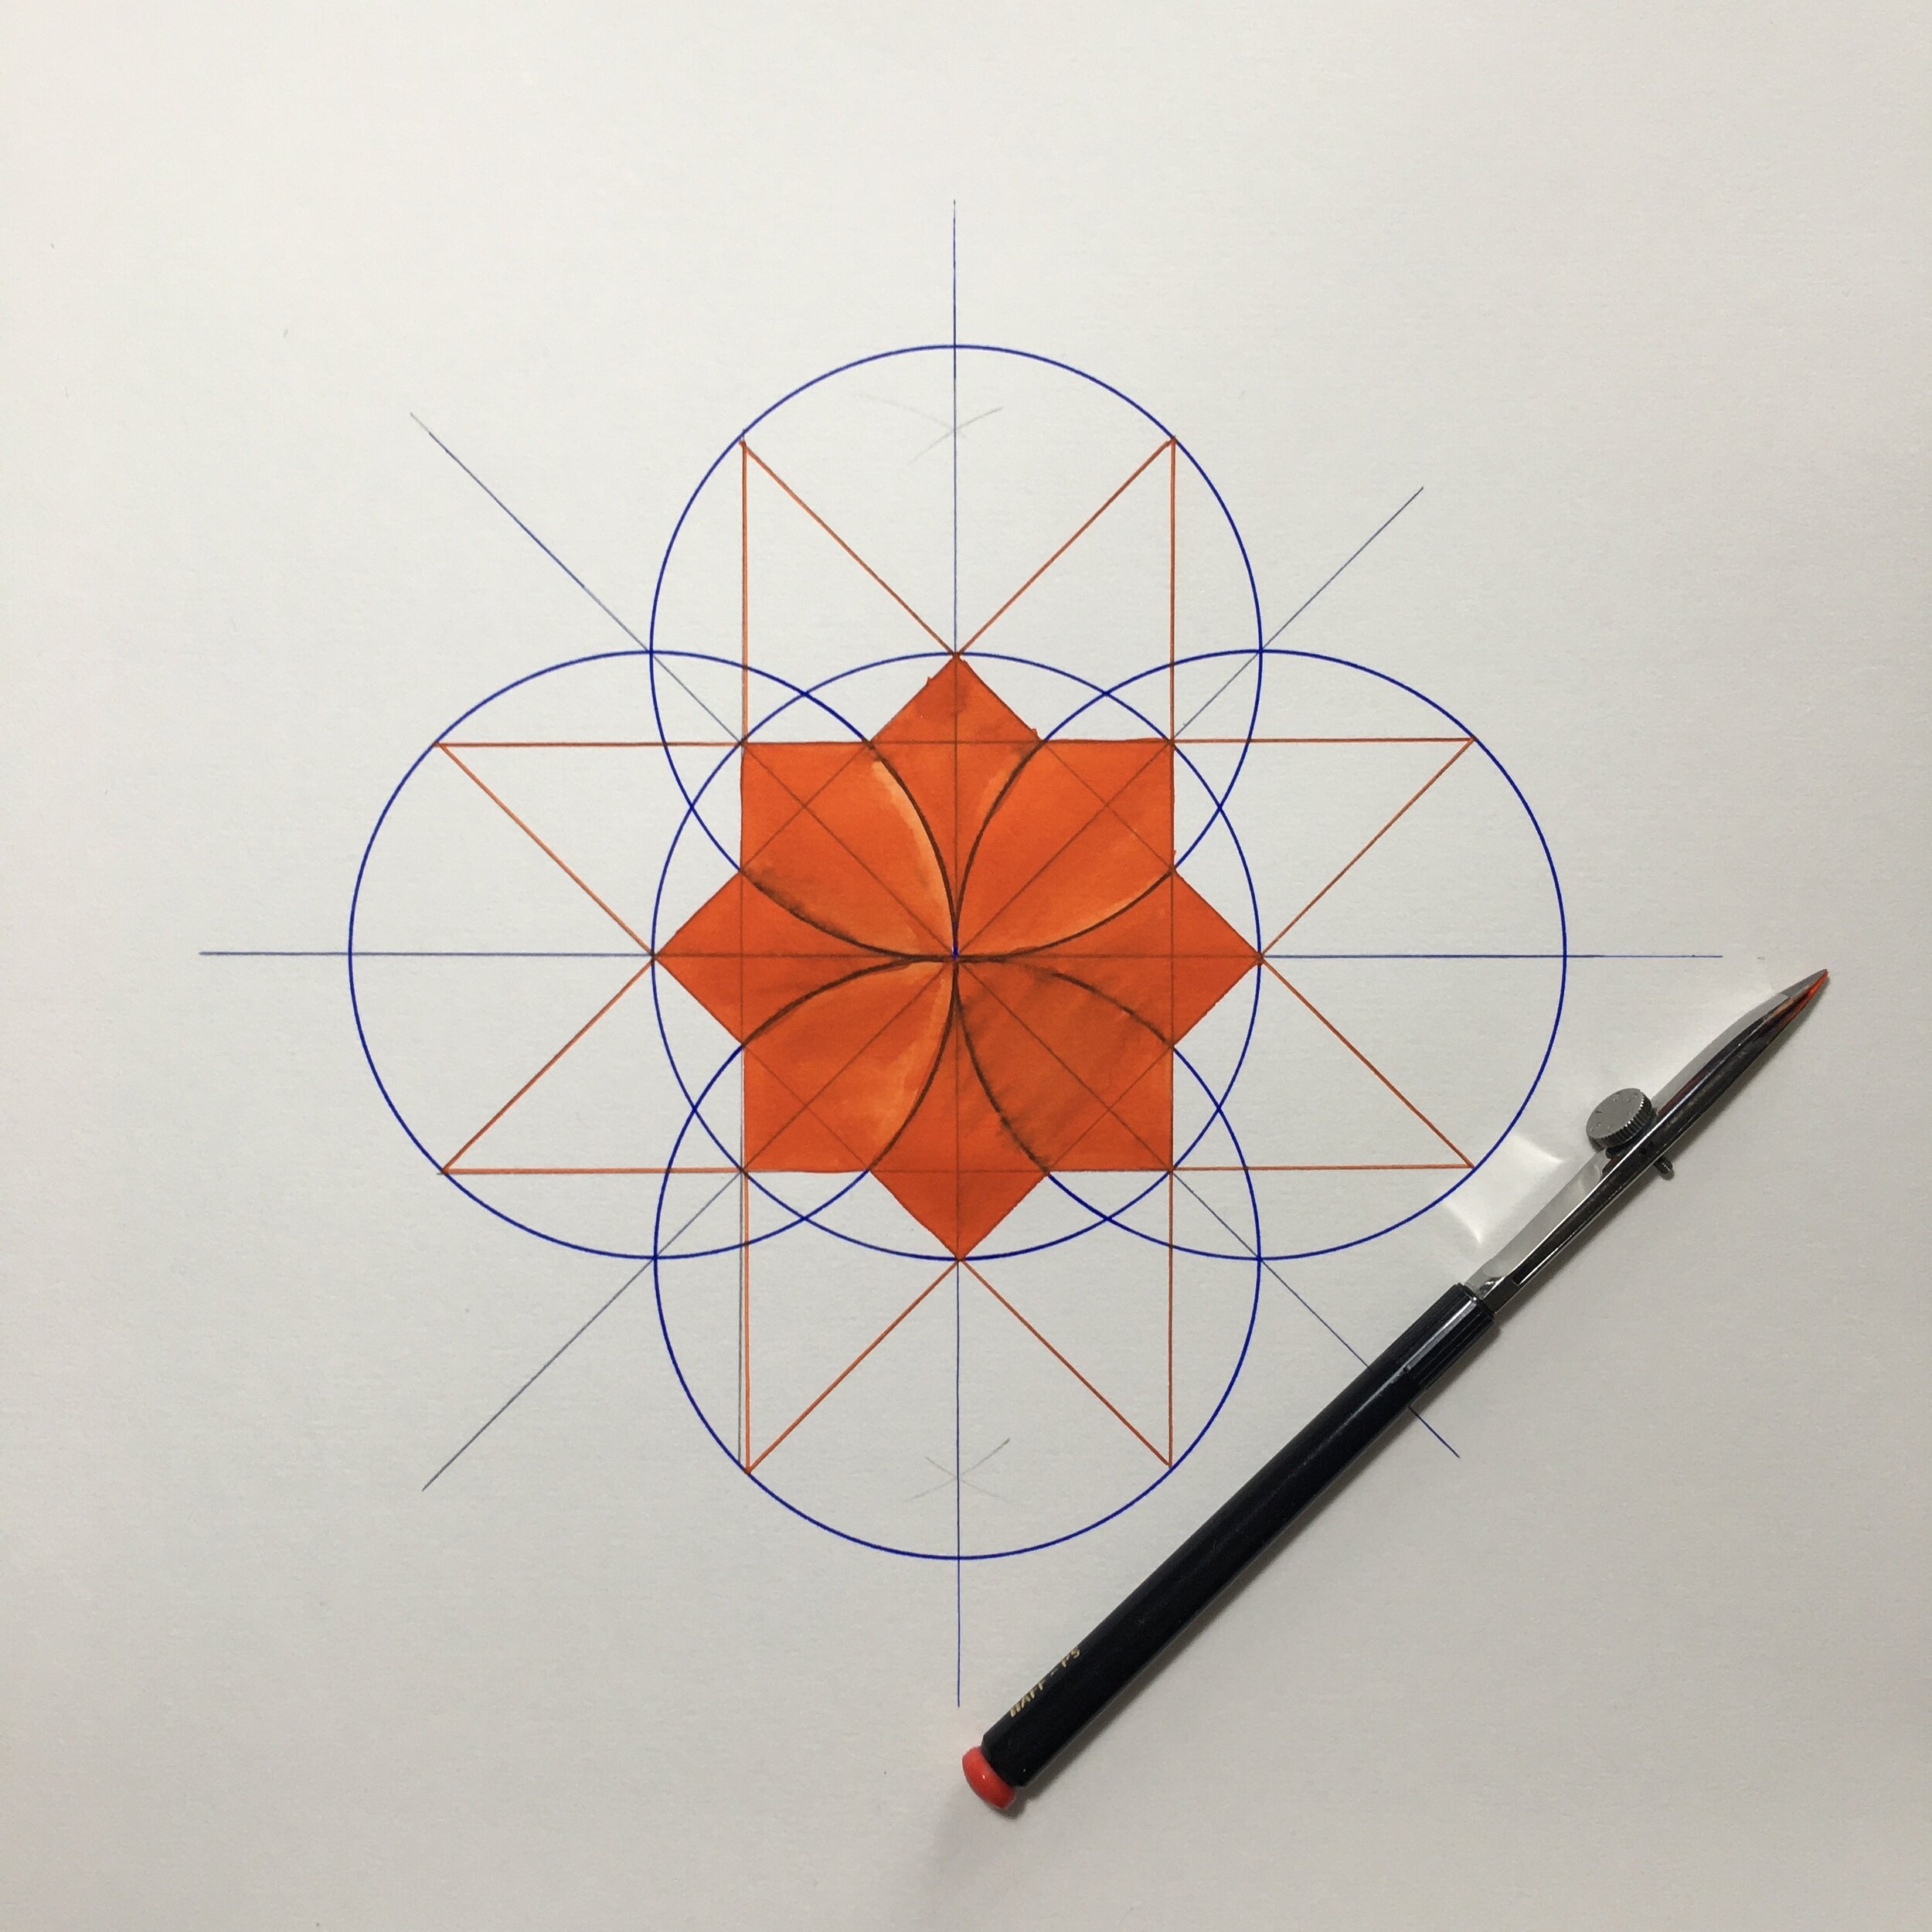
2. A painting I outlined using a ruling pen and gold gouache
Ruling pens - What are they and what are they used for?
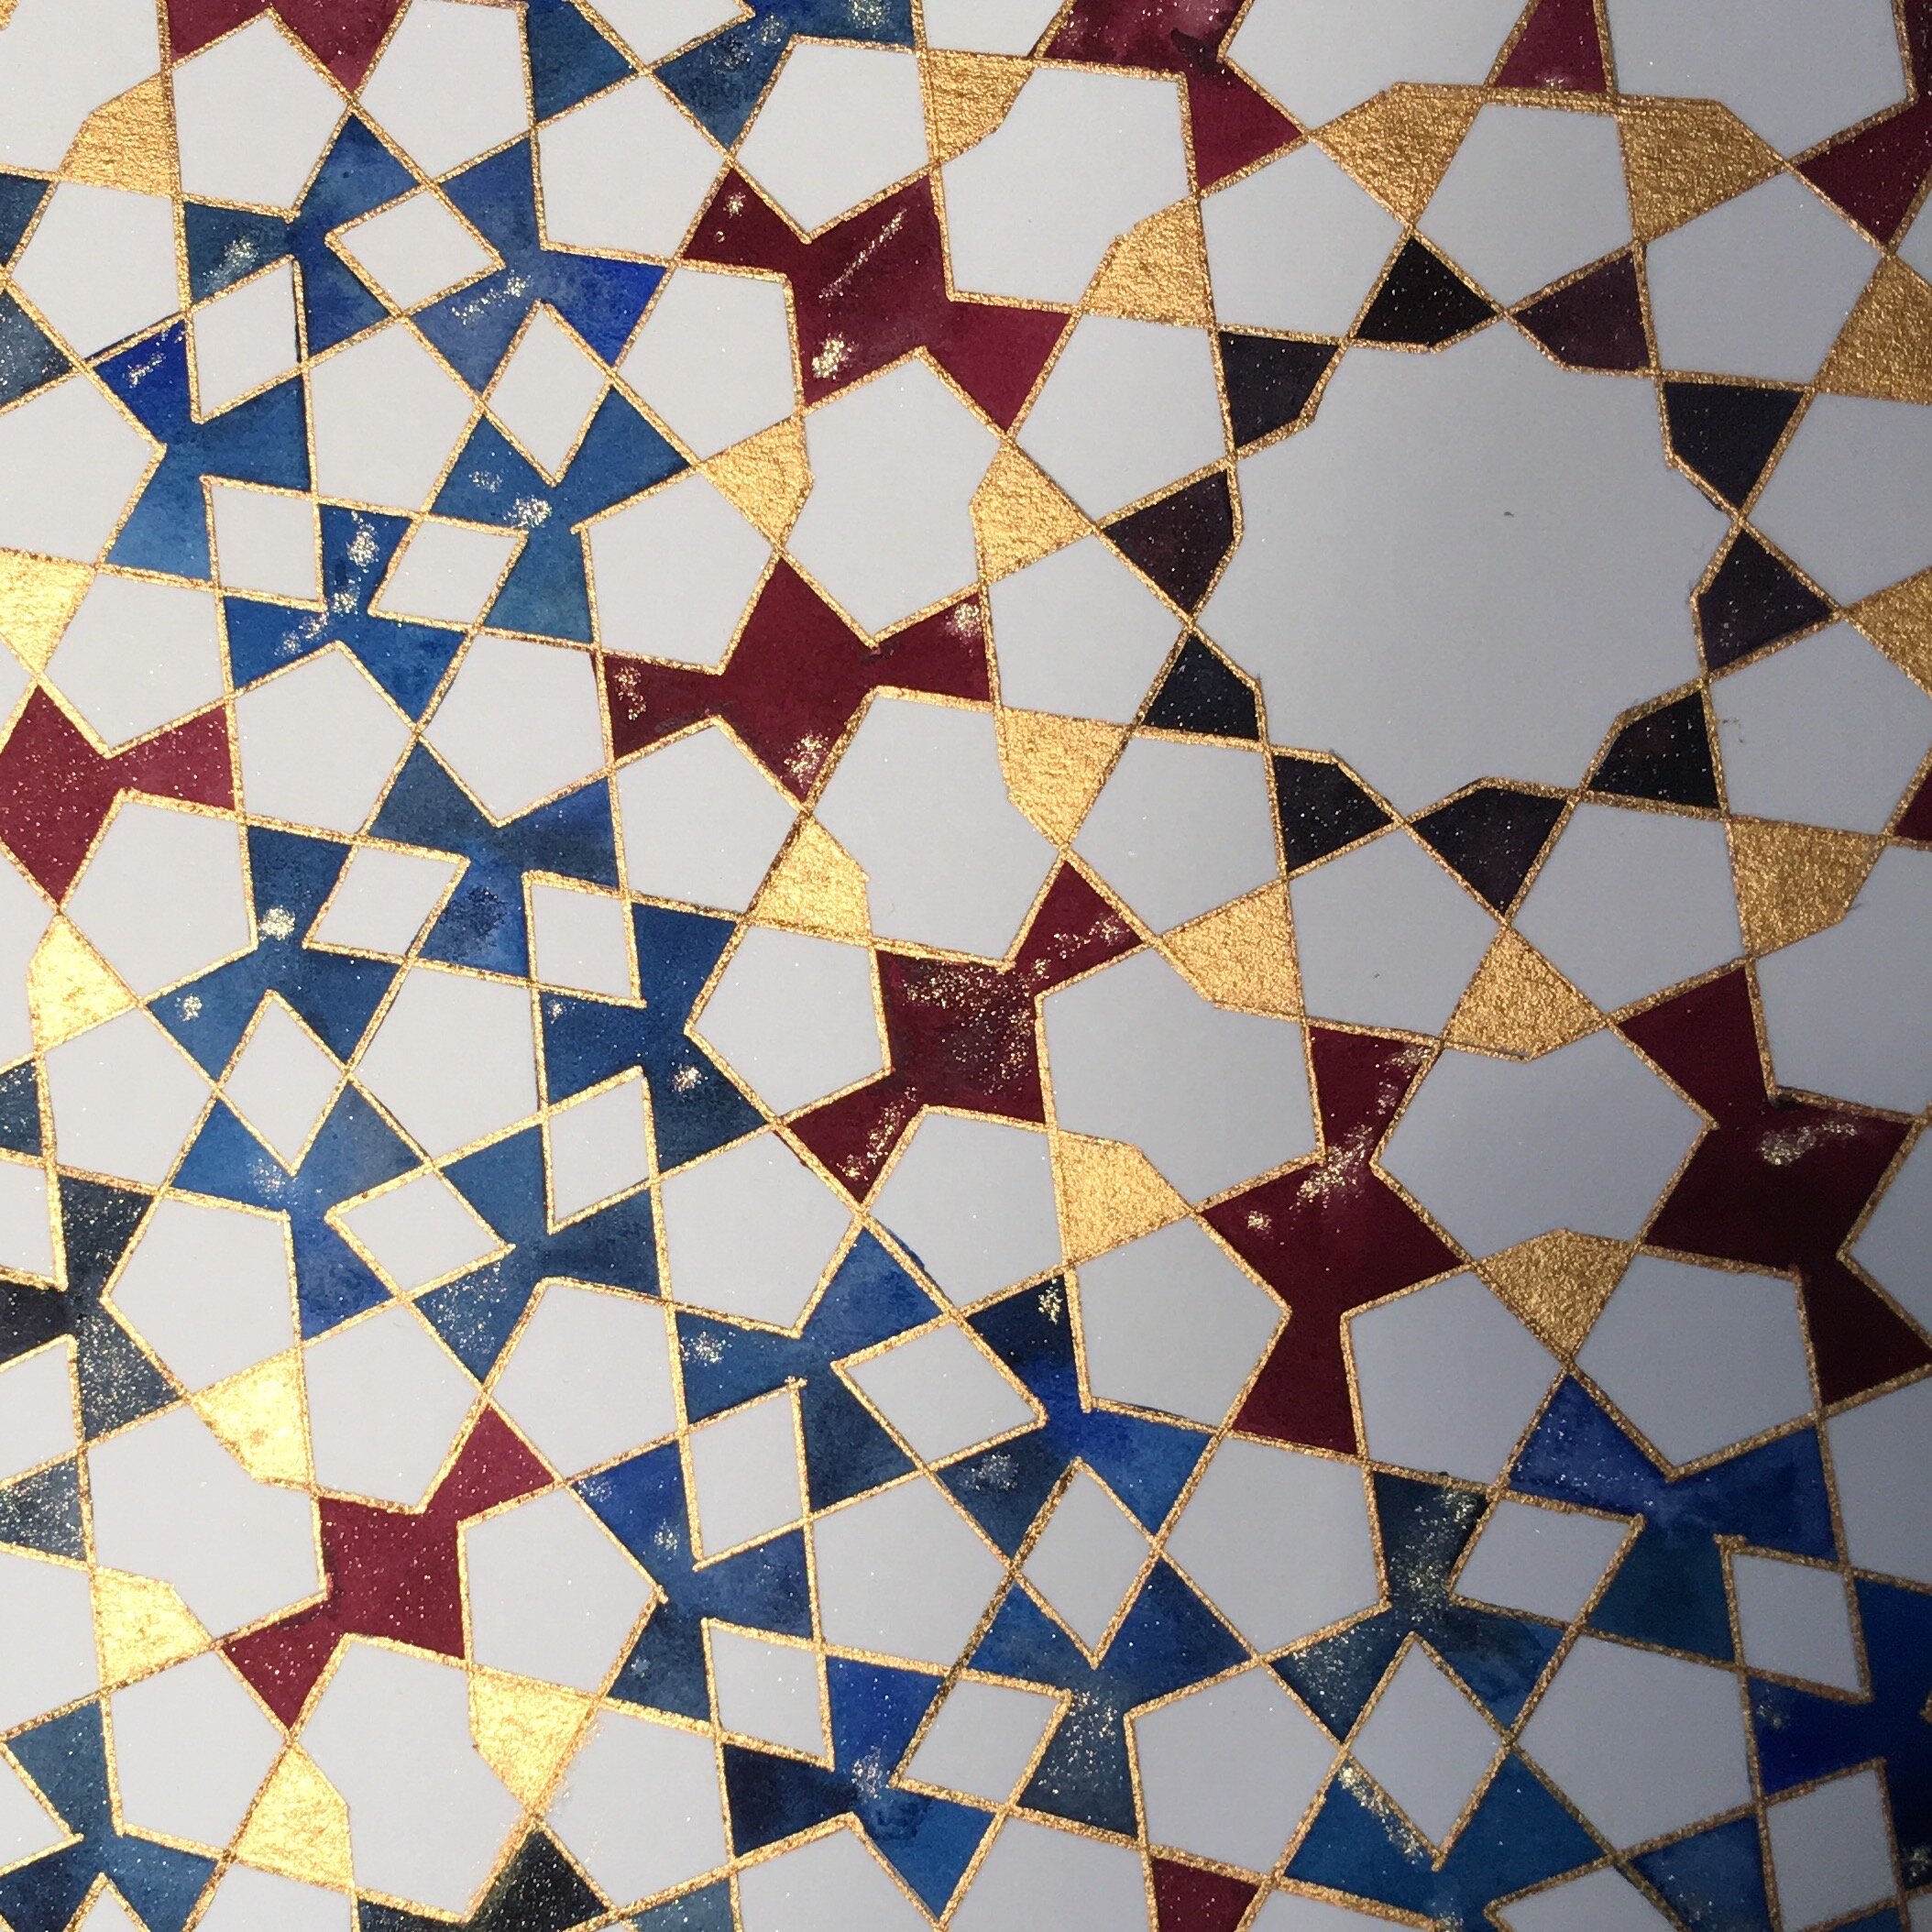
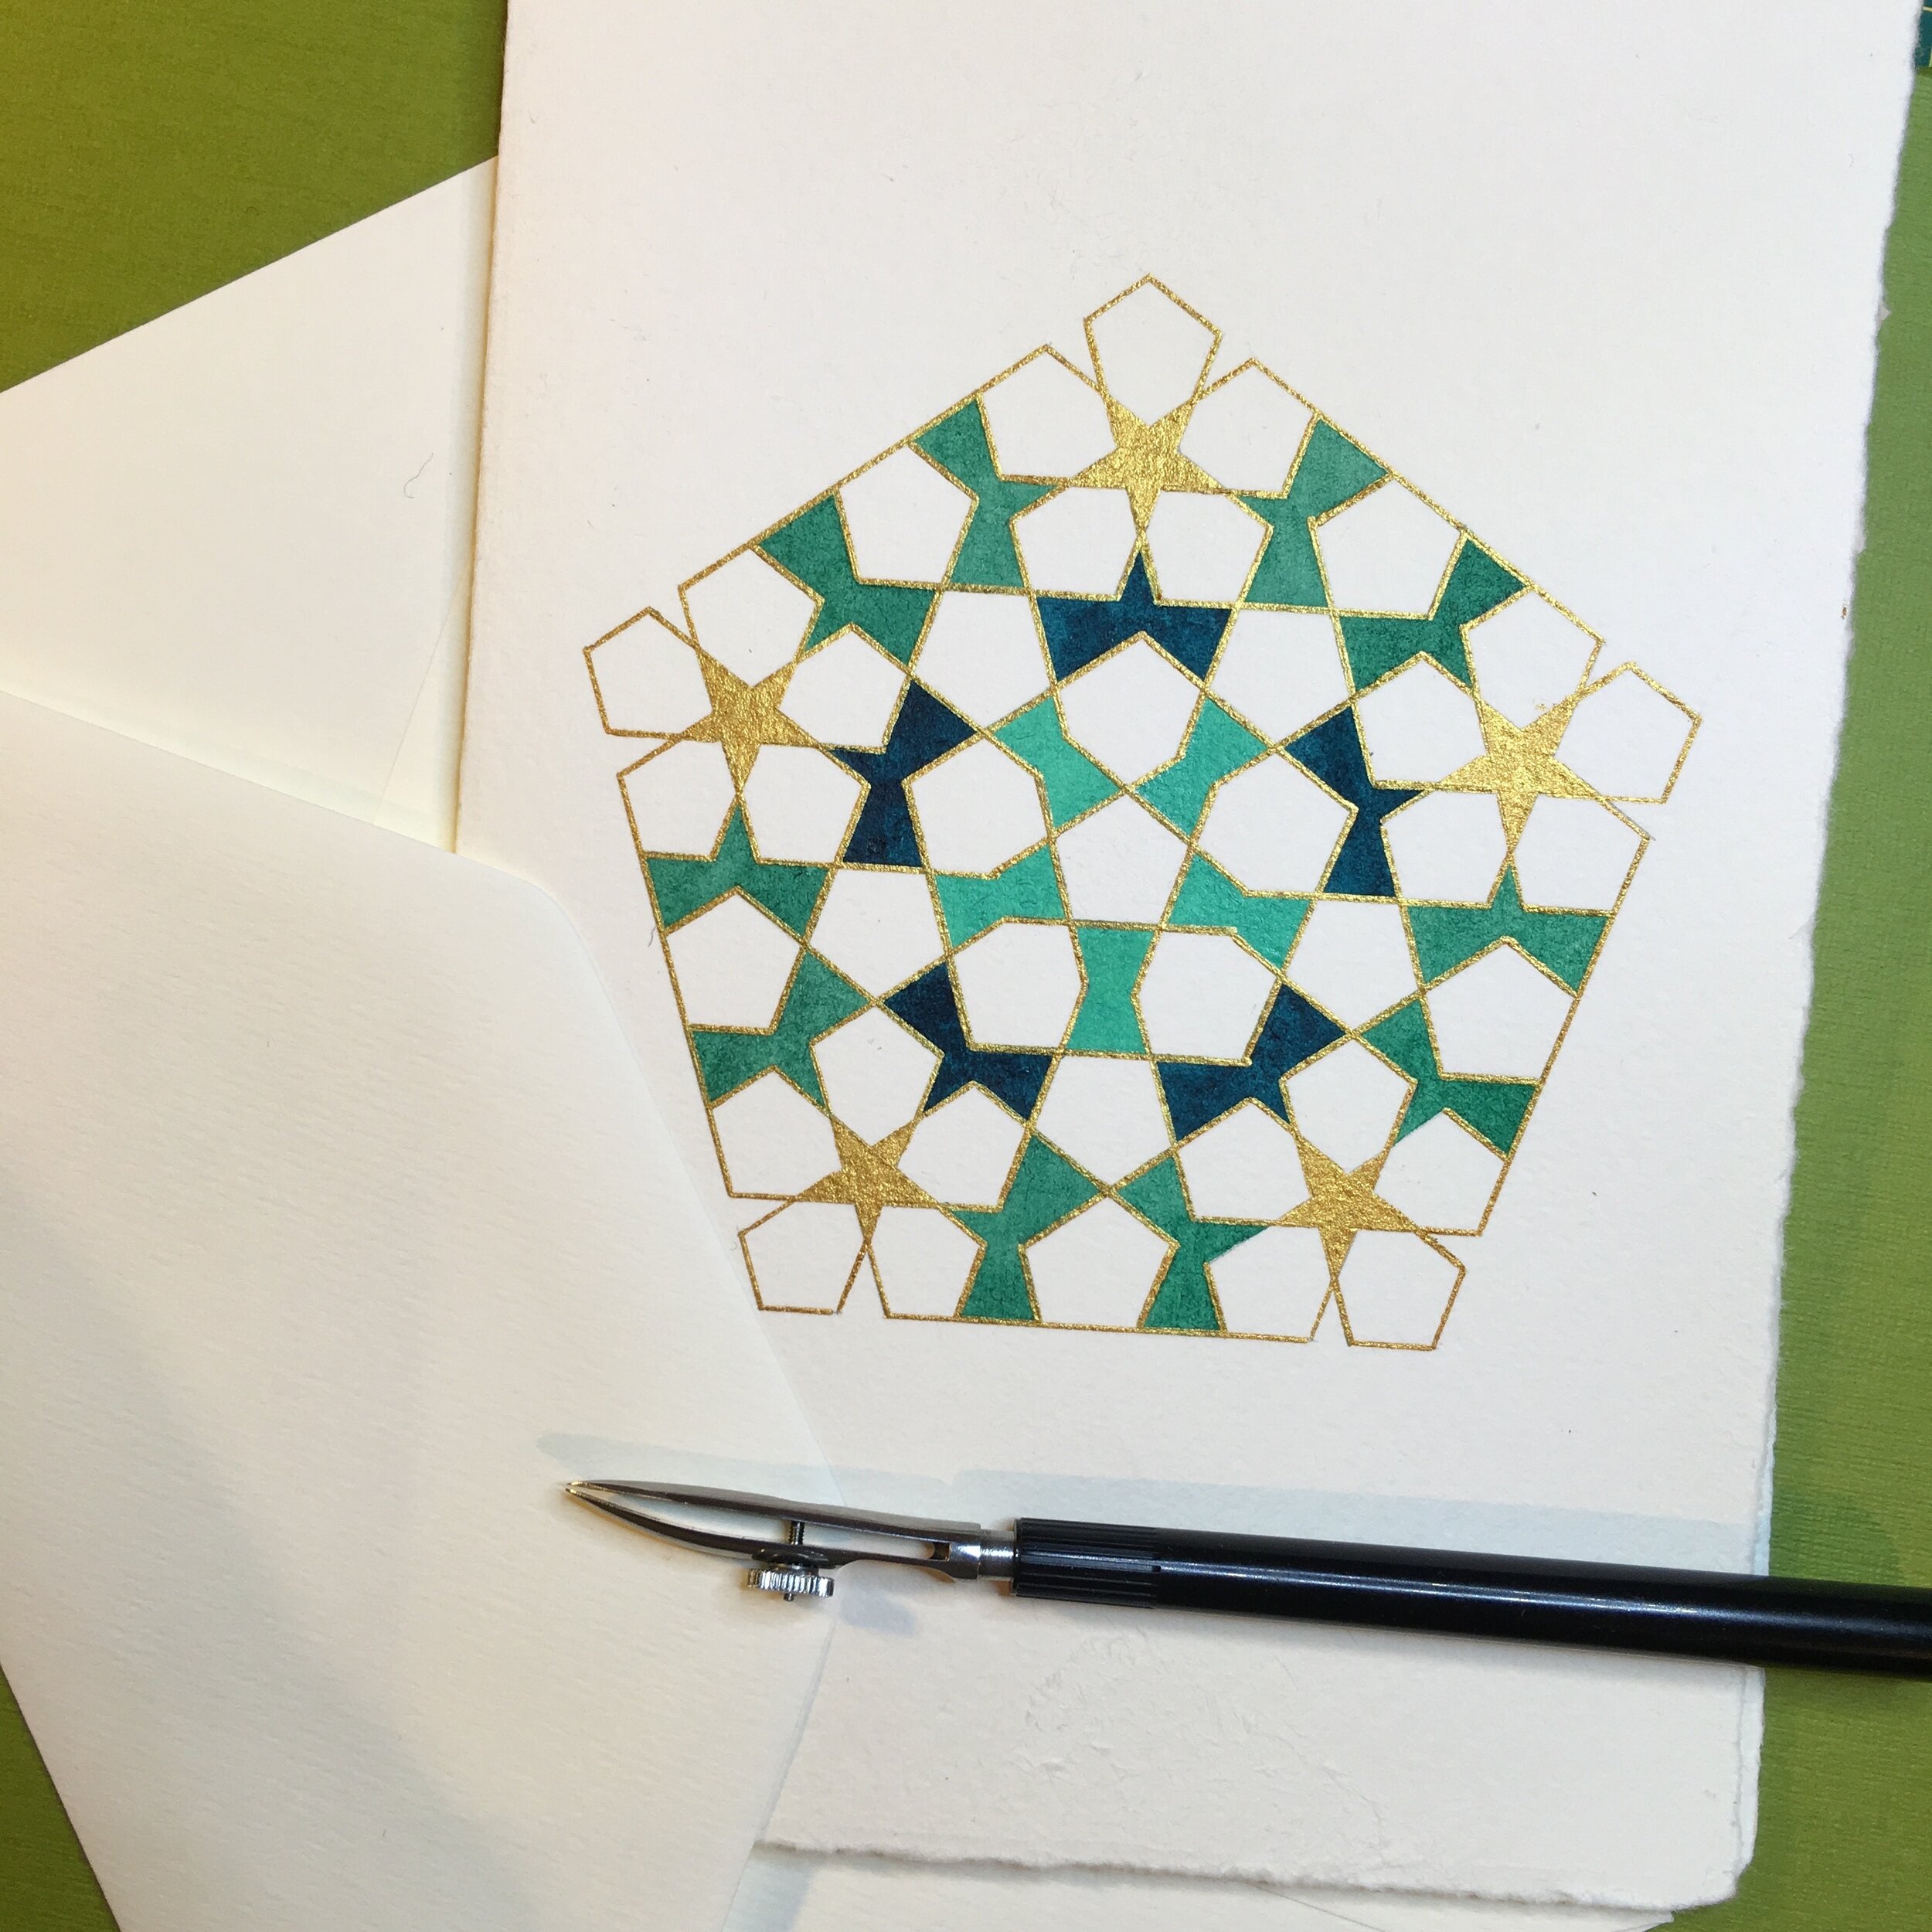
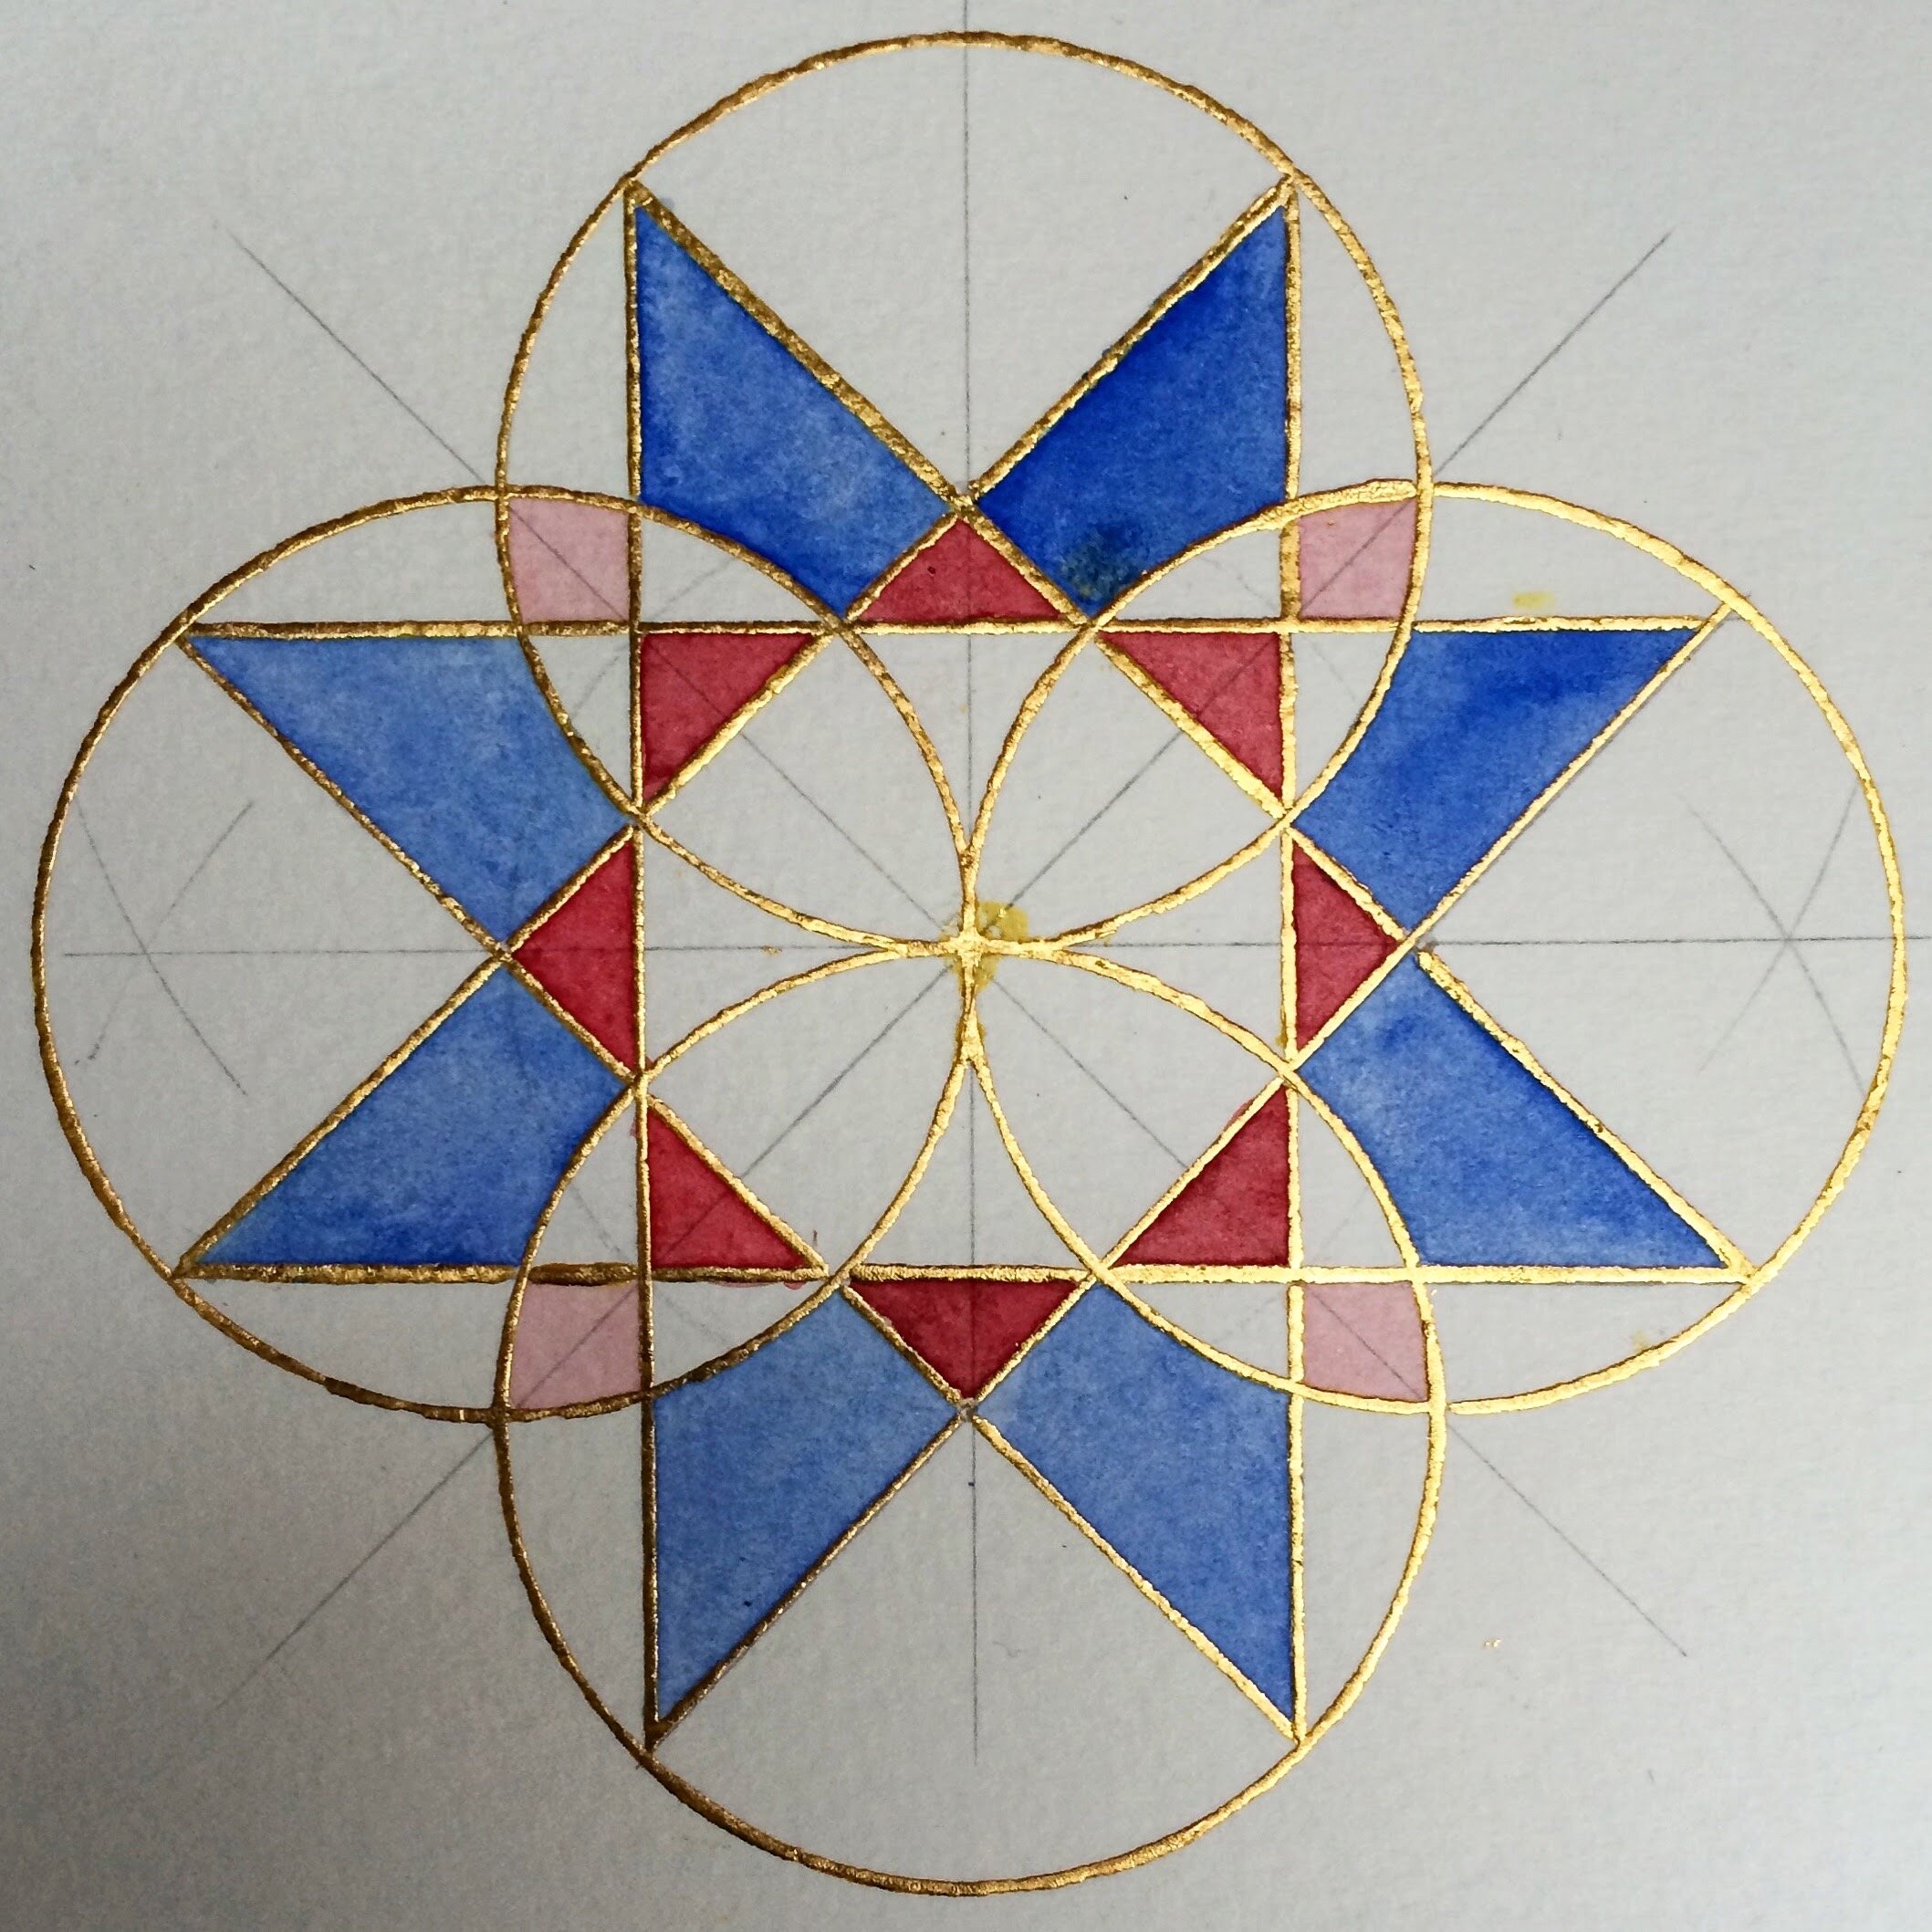
3. Gold leaf and watercolour study (2013) - the gold size was applied using a ruling pen
A ruling pen (also called a ‘steel pen’) is a drawing instrument for drawing with ink or with other fluid media. I first came across ruling pens in 2012 in the first art class I ever took at the Prince’s School of Traditional Arts. My tutor Ayesha Gamiet showed me how to use one to ink in a border around an Islamic Manuscript pattern and I have been hooked on them ever since!
Since then I have been fortunate enough to acquire a few great ruling pens and have used them to feed watercolour, ink, gouache, shell gold, gold size (a type of glue used to adhere gold leaf to paper) and even masking fluid into my work.
Historically these pens would have been used for technical drawings in engineering and cartography together with straight rulers and French curves but today they are more commonly used by artists and calligraphers.
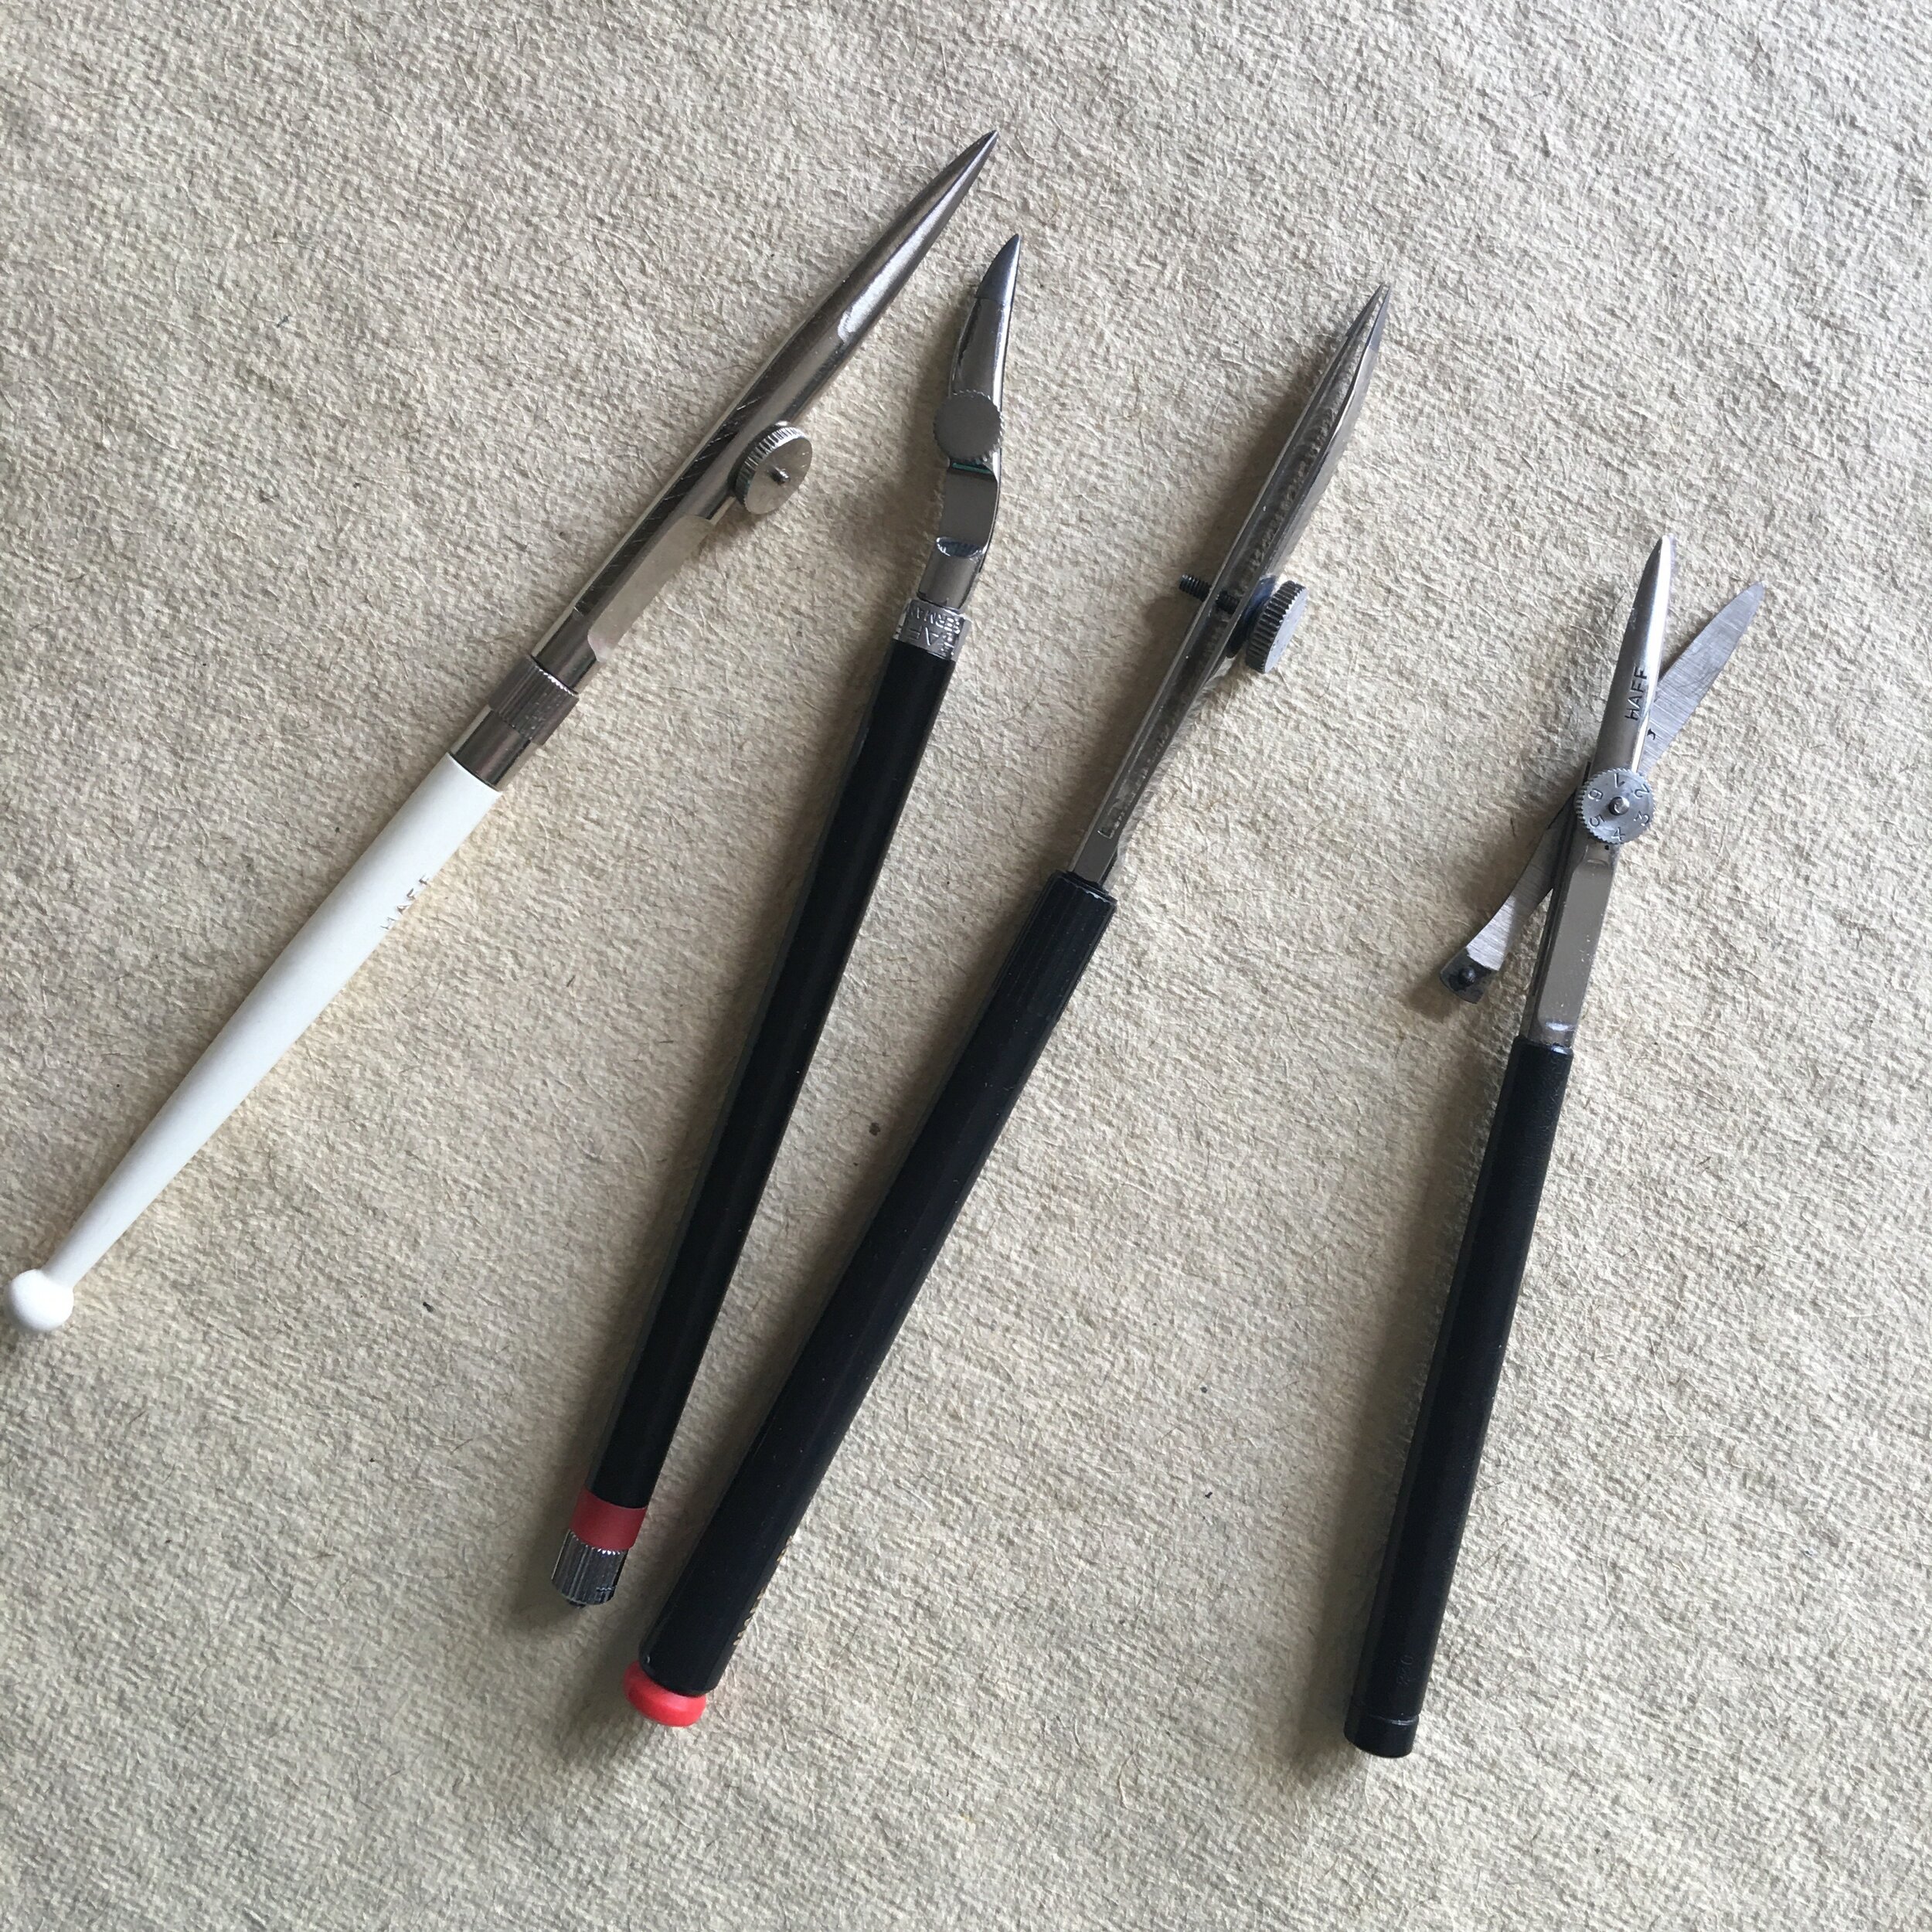
Ruling pens come in a variety of shapes and sizes including as steel pen attachments for compasses. It is possible to buy new ruling pens from shops selling art or calligraphy supplies, however as Alan explains in his article, ruling pens manufactured today are not particularly well made, so I would think twice before buying anything new. Instead I would try searching for ‘Ruling pens’ on eBay and looking out for antique or vintage models from brands such as Rotring, Haff, Kern or Keuffel & Esser.
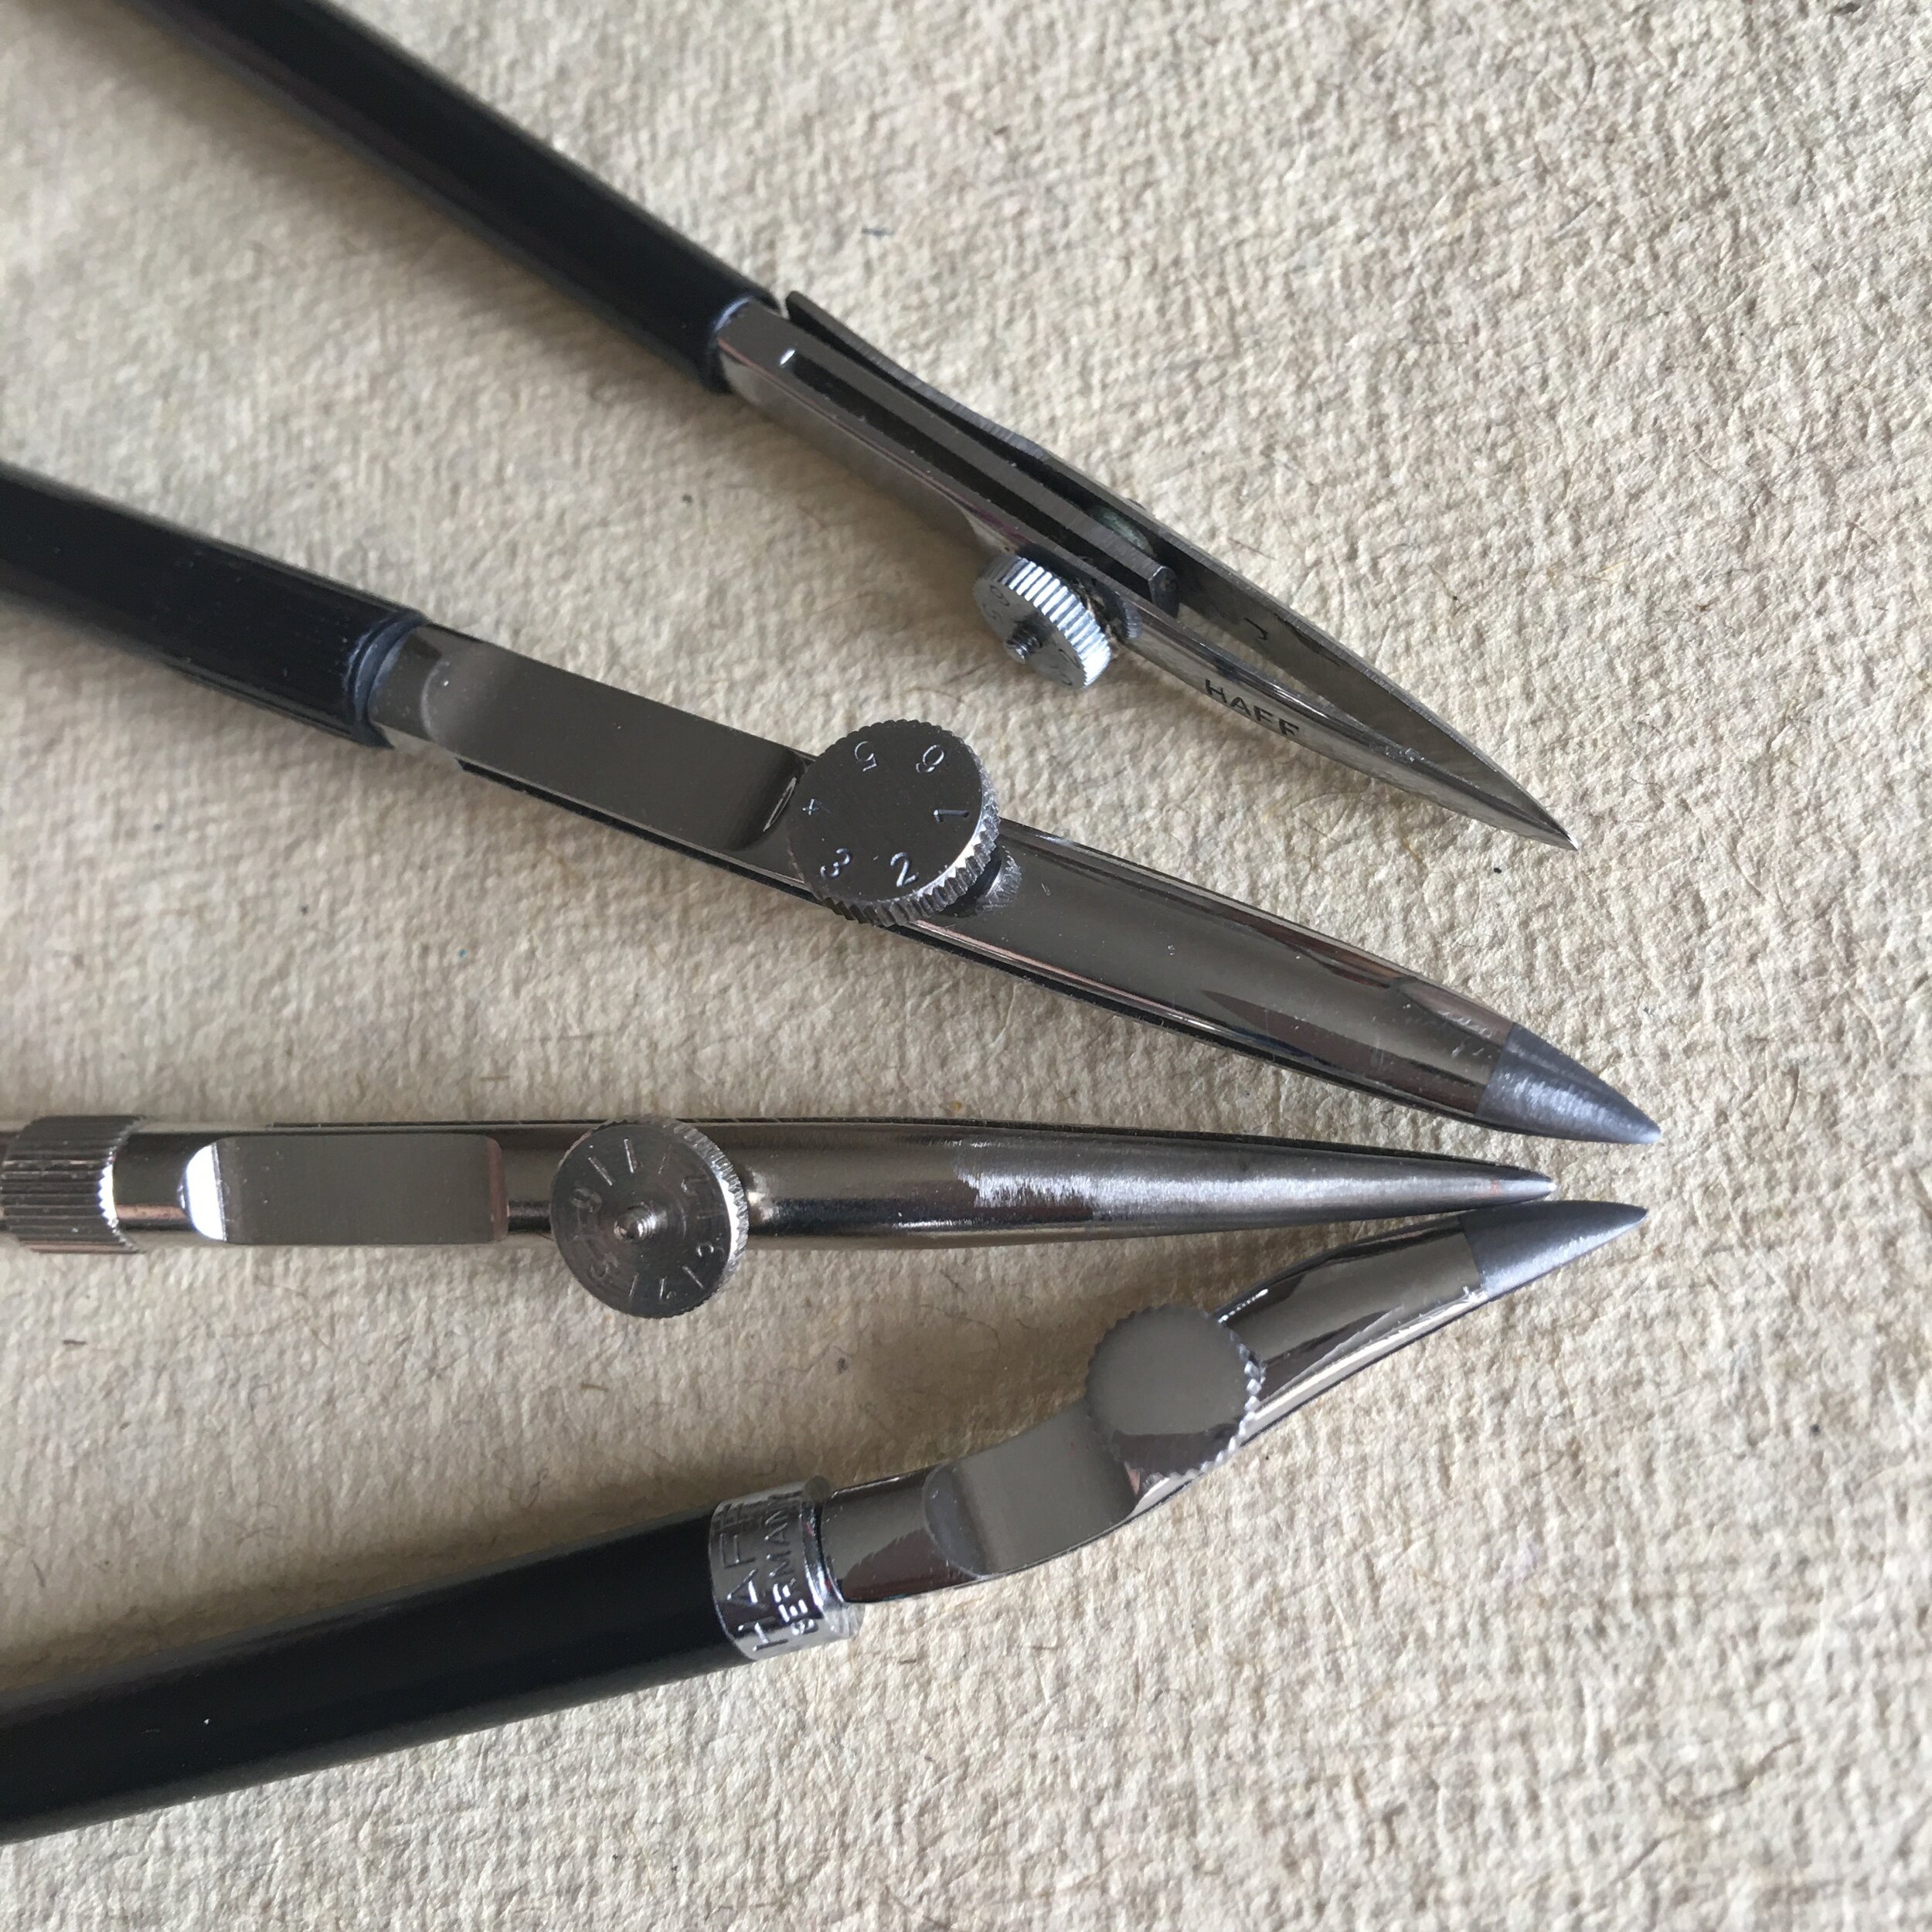
4. A selection of different types of ruling pen
5. Ruling pens and compasses with steel pen attachment
5. A close up of the ruling pens shown in image 4
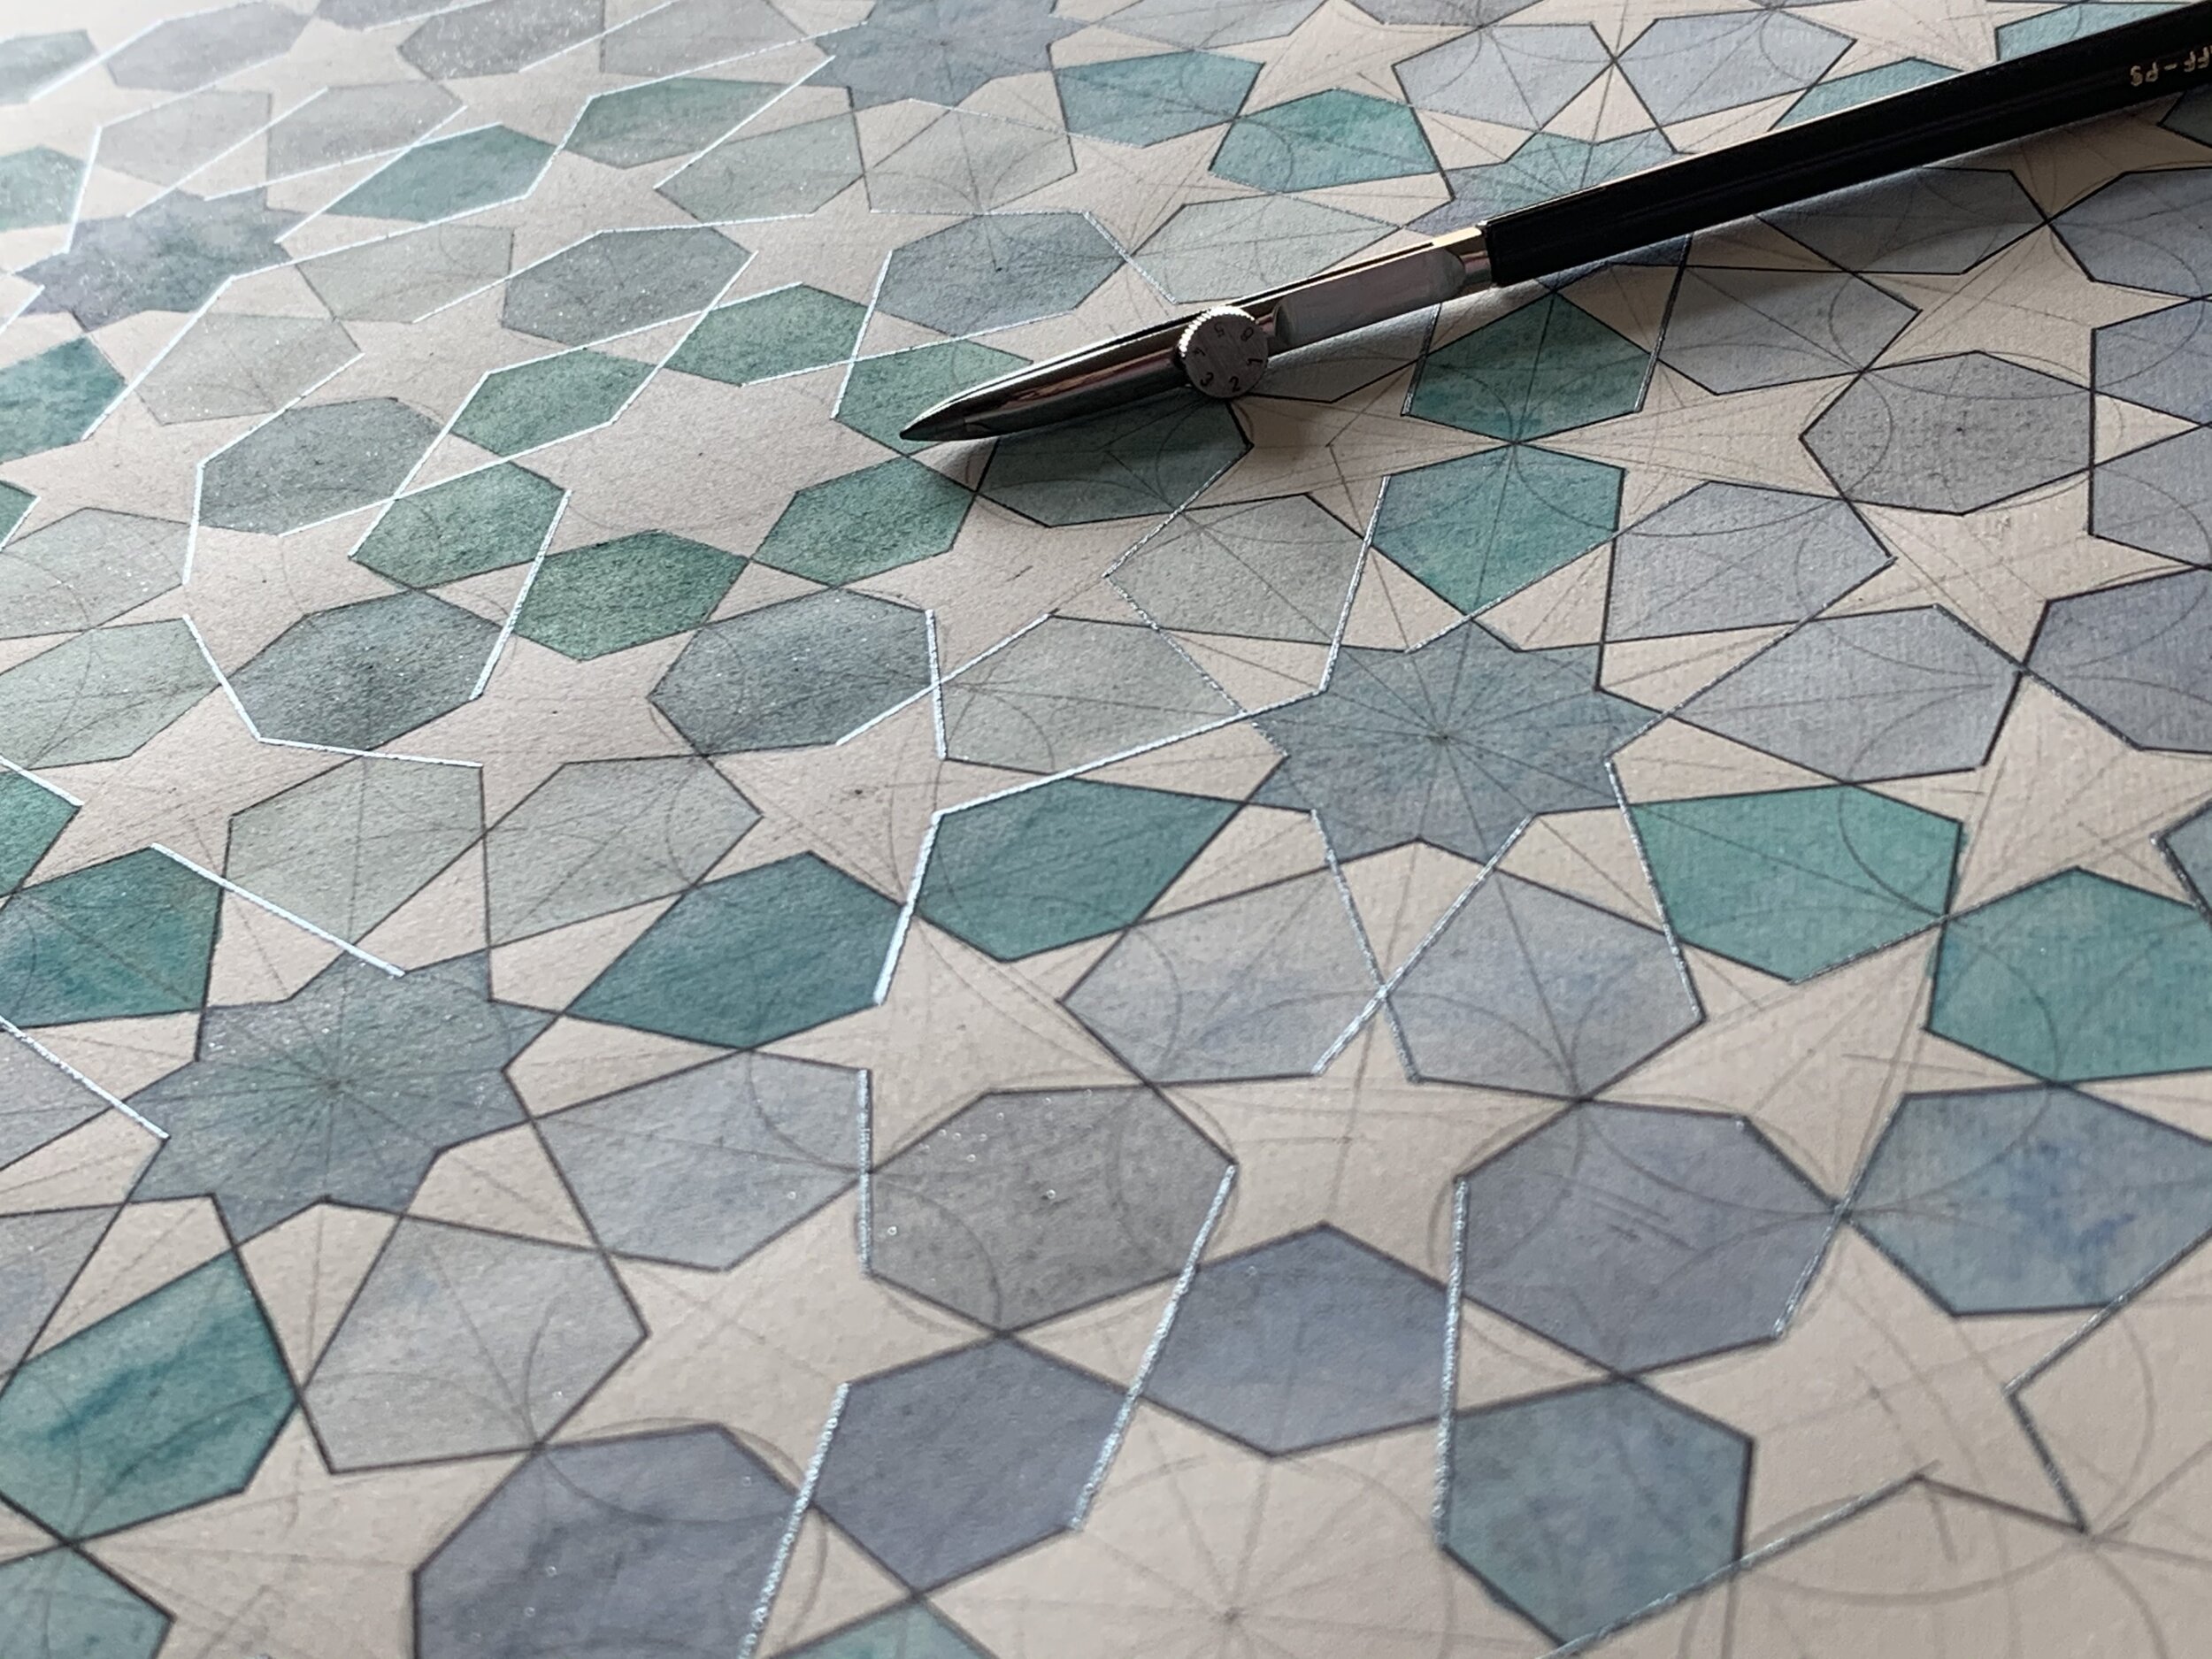
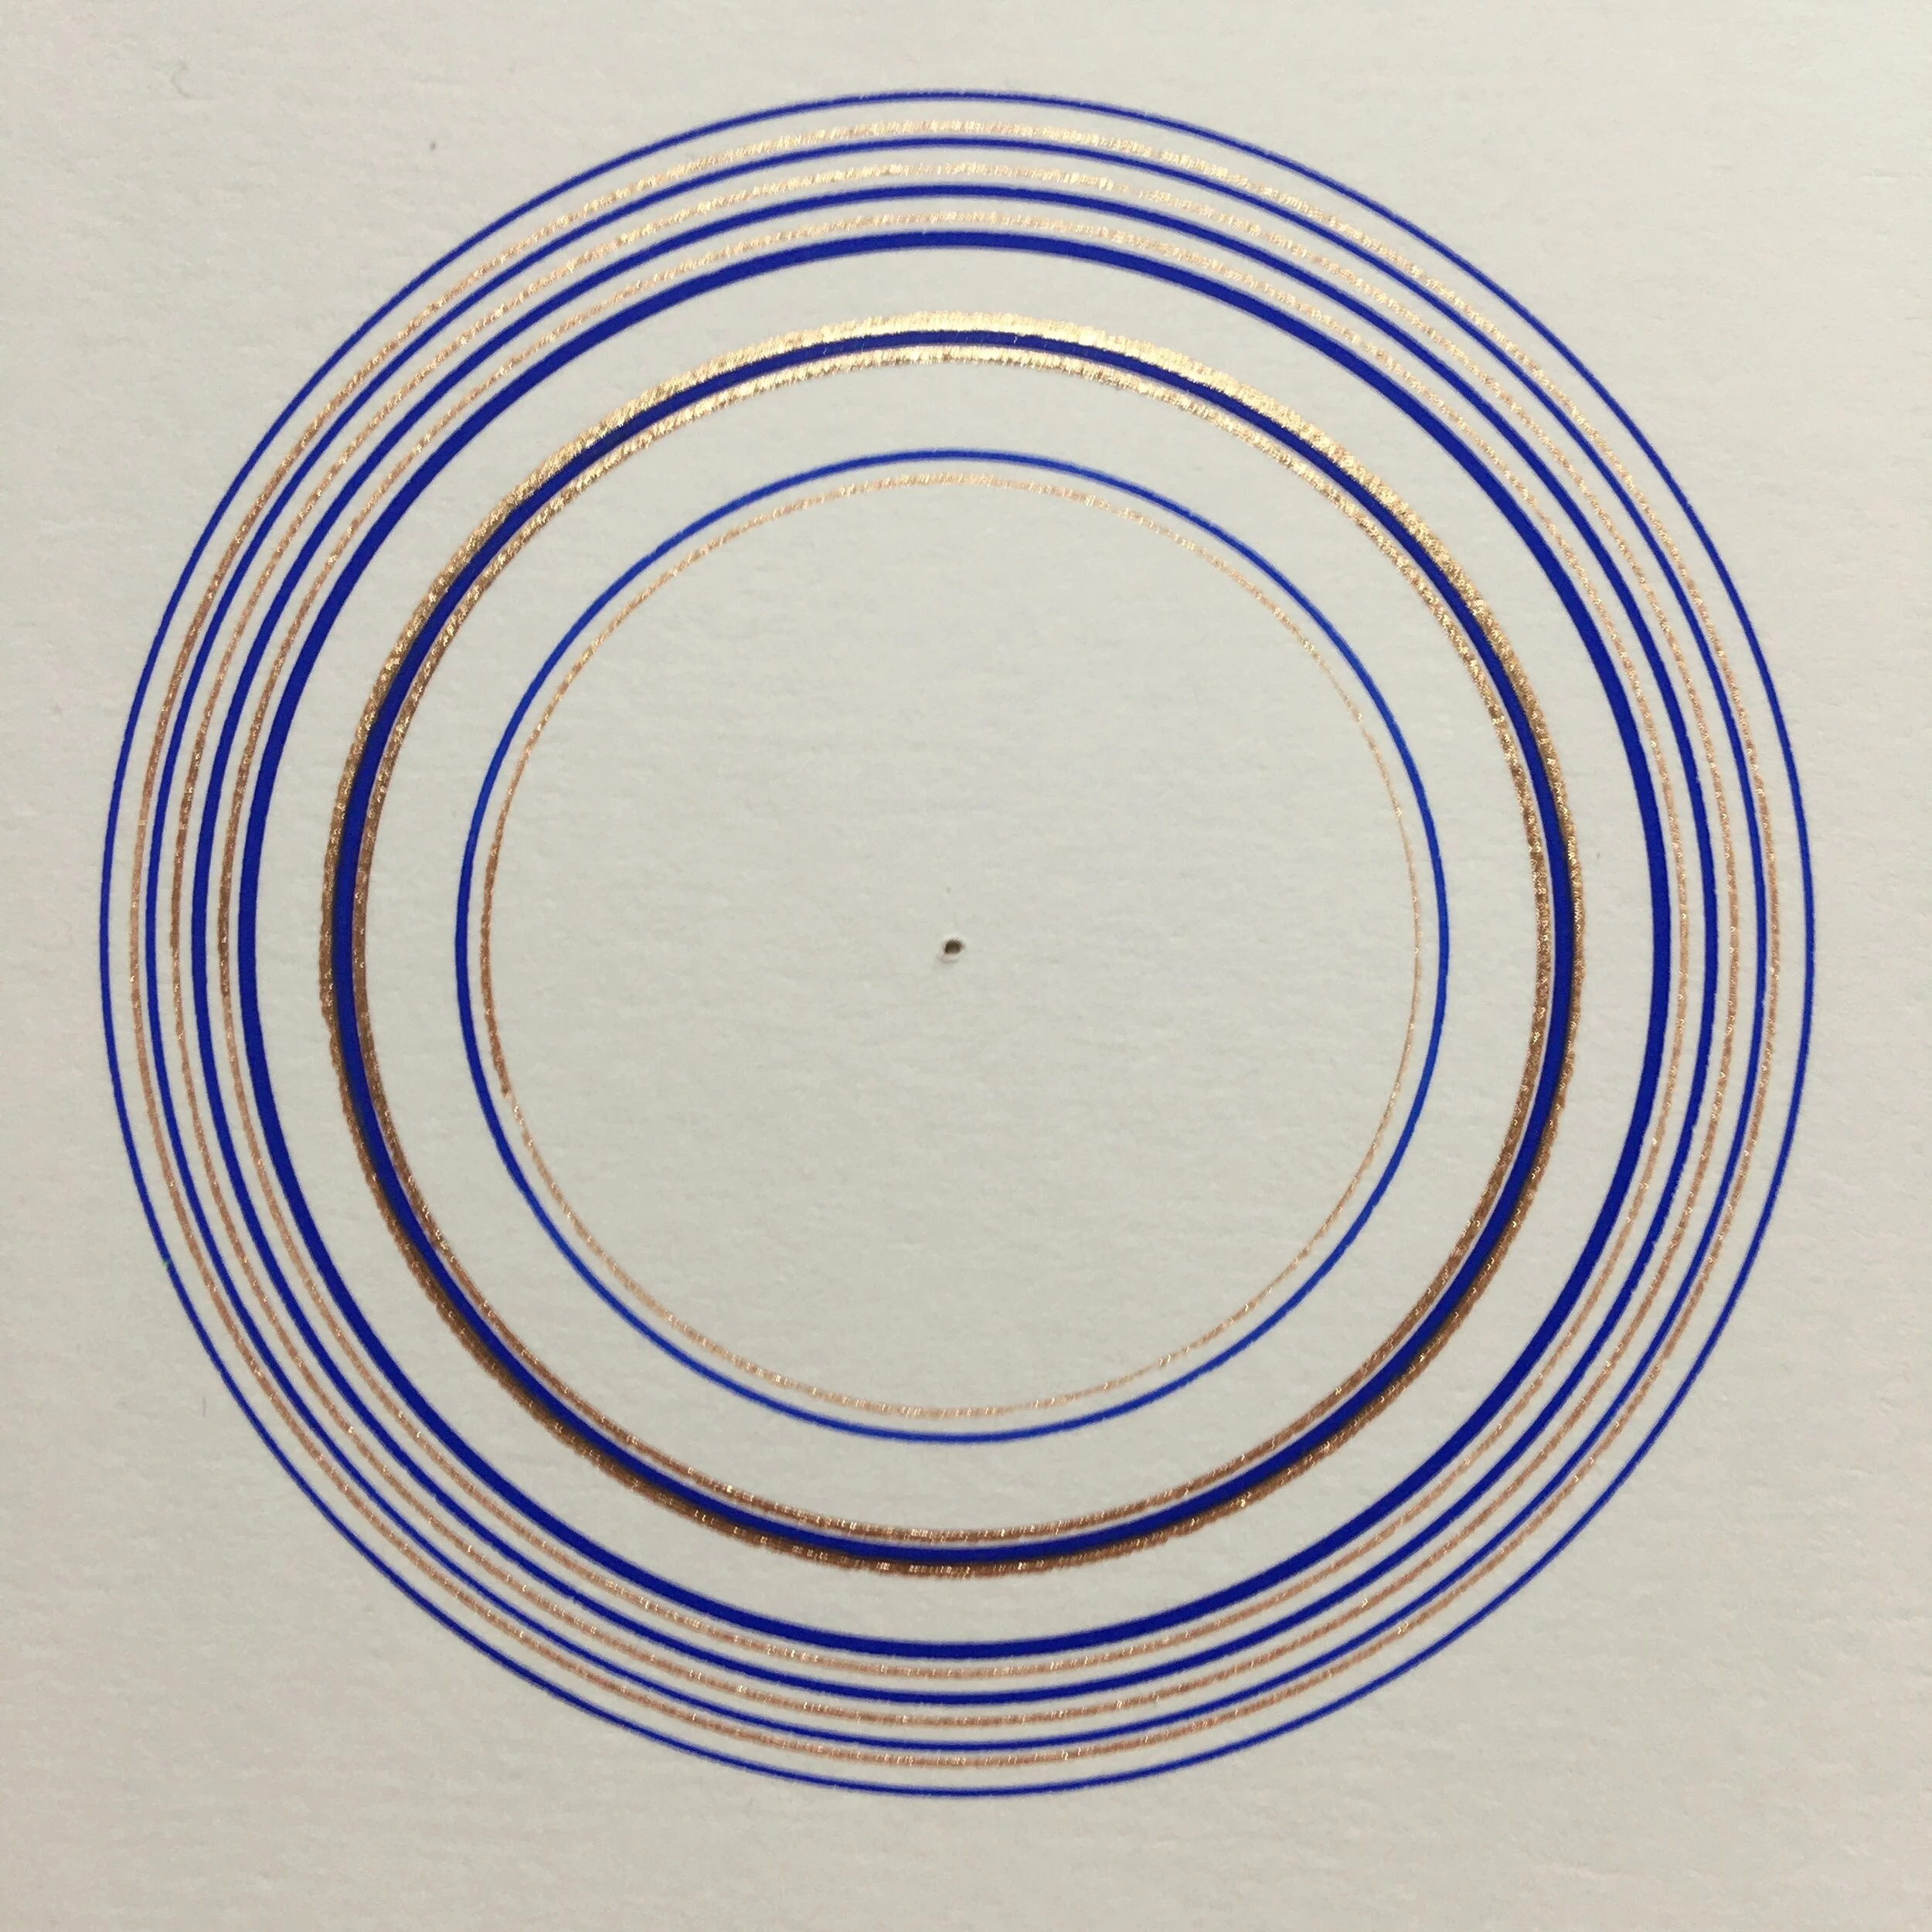
6. Series of concentric circles drawn using watercolour paint with compasses and a steel pen attachment
Before you buy anything, I would urge you again to go and read the article linked above as it gives a lot of information on quality, care and maintenance and this info will really help you find the best tools out there!
So How do these ruling pens work?
6. Illustration of ruling pen use from A Textbook on Ornamental Design (1901) Image credit: Wikipedia
Essentially the paint, ink or other wet medium is inserted into the space between two flexible metal arms of the ruling pen, which are tapered to a point.
The ruling pen is carefully positioned and held vertically against a straight inking edge, then it is gently drawn along the page. The reason we hold the pen vertically is to ensure that both points of the pens arms are in contact with the paper. This will allow us to get the best quality of line possible. Tilting the pen and working at an angle will likely result in one of the pen’s nibs not touching the paper and this will start to give us problems!
Another key requirement is that your ruler or straight edge must have an ‘inking edge’ (not all of them do). ‘What’s an inking edge’ I hear some of you say… it’s the little lip or step that is undercut on one side of some rulers. I have also seen rulers that have a cork backing and these work really well too - the point is there must be a gap between your edge, and the surface of the paper you are inking a line onto. The gap will prevent your ink or paint bleeding onto the edge itself and making a mess of your beautiful work! If you don’t have one of these rulers, it’s easy enough to create one - simply tape a couple of pennies to the underside of a flat ruler to create a little bridge and hey presto! You can also use a regular ruler that has a bevelled edge by simply flipping the ruler over…easy!
In theory if we follow the guidelines above, we should be able to render fine lines with the ruling pen, the width of which we can adjust by using the adjustment screw connecting the arms of the ruling pen.
Sounds simple right? Well, it really isn’t too complicated - but much easier to demonstrate than to write about so definitely time to check out the video below!
A few words to finish on
With a little practice, some patience and plenty of testing I have usually managed get decent results with my ruling pens, but I have had my frustrations too! I will say that watching videos and reading blogs may be a great starting point, but the best way to learn anything is to get stuck in and give it a go!
Look after your ruling pens! Keep them clean and avoid dropping them! A little care now will ensure your pens work well for many years to come.
Be brave and try working with different media - ink, gouache, watercolour, shell gold all work really well with a little practice but beware, inking lines next to gouache never seems to work well! The ink or paint bleeds easily and I have had a few scary moments with this in the past.
Always prepare well before you start inking in your lines! I always set up my ‘ruling pen’ station carefully and make sure I have clean water, clean paper towels and whatever else I need positioned carefully to the left of my painting so everything is available as soon as I need it (I am right handed). For the left handed amongst us, it may work better for you to set up your equipment to the right of your work.
ALWAYS test the ink / medium you are using on the same type of paper or painted surface as your final work. Be prepared for a few surprises as some paints and inks won’t sit well together no matter what you try! I always draw a dozen or so lines and make sure I am happy with the line quality, colour etc. before I go anywhere near my final work.
When you are loading up your ruling pen - don’t do this over your artwork, as spills and splatters are almost inevitable at some point! If necessary push your actual work away from yourself before refilling the pen! Remember, ruling pens are not the same as dip pens and should never be filled by dipping the ruling pen in your medium.
Position your straight edge, then check to ensure the ink / paint will flow on a piece of scratch paper before placing the ruling pen nib on your work and drawing your line.
Avoid going over the same line more than once as this can cause smudges and bleeding.
REMEMBER - for the best line quality always hold your ruling pen vertically so that both points of the ruling pen nib are in contact with the paper!
Right - so I think that just about wraps things up. I hope you found this post helpful! I would love to see how you get on with your own ruling pen trials so if you have a go do please tag me on social media if your post an image of your work!
As always, feedback is always welcome and appreciated so do leave a comment or question below and feel free to share! I will leave you with a few more images of some of my work where I have used a ruling pen to finish my paintings; as well as a simple supply list which includes the commercially available supplies that I used in the video tutorial.
Supplies used in this tutorial
ruling pens:
All my ruling pens have been bought from eBay or from specialist sellers.
Gebruder Haff may still have a small supply of ruling pens, so please check their website here
I would also recommend following @Pergelistan on instagram who sells vintage drafting supplies (based in Istanbul) - the ruling pen I used in the video was purchased from him.
Paints
Amazon: Winsor & Newton, Designer’s Gouache in Ultramarine
Amazon: Talens Turquoise green - Gouache
Finetec Colori - My palette is a custom set which I designed personally.
Pre selected palettes are also available and I would recommend the gold collection as a good starting point.
Amazon: Finetec Colori Pearlcolors - Gold Set
Jackson’s Art Supplies: Individual colours can be bought here
Paper
Jackson’s Art Supplies: Daler Rowney cartridge paper - A4 Pad
Straight Edge / Rulers
